Creating and managing identities
The creation and management of identities takes place on the home screen of the application.

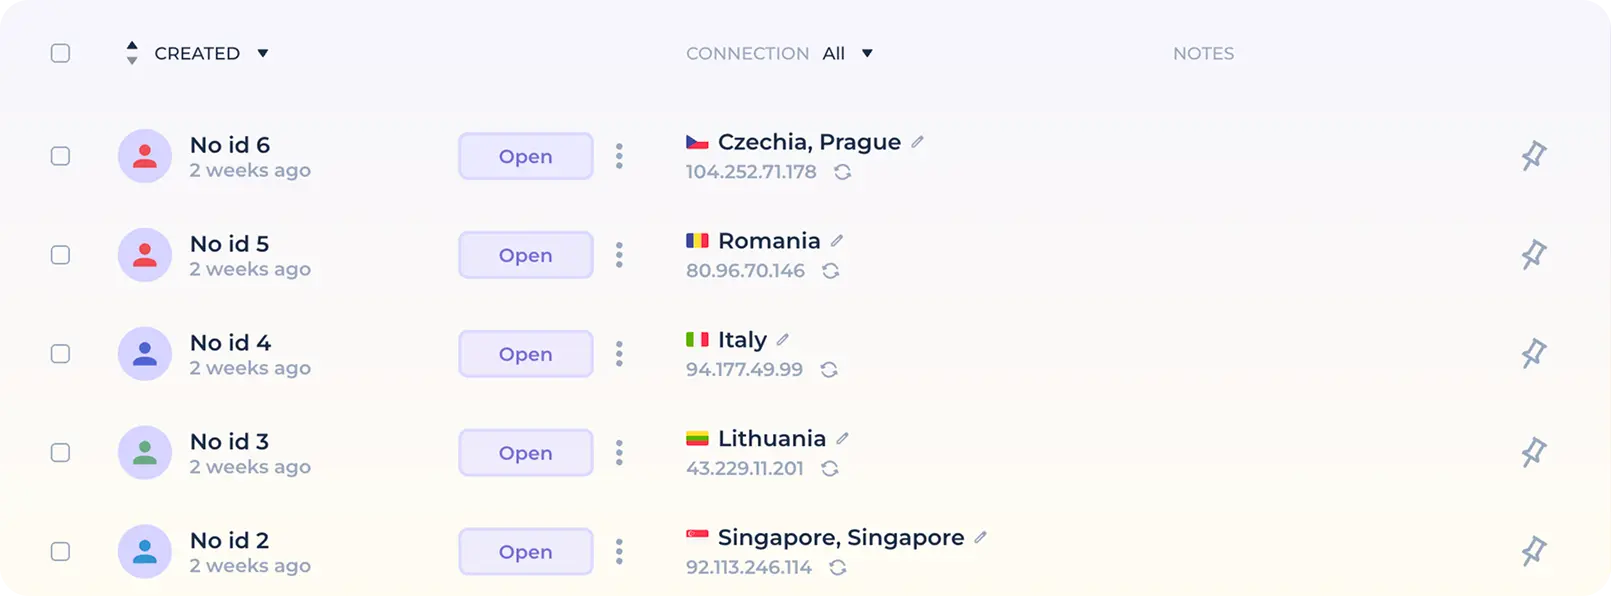
The Home screen gives you options for creating and managing identities, including name, connection and notes, searching and pinning them. Mass actions are also available with many identities at once.
To create a new identity in one click, click on the "New identity" button. The new identity will be created in one click based on the preset settings made in the preset.

The created identity has a variety of control options.

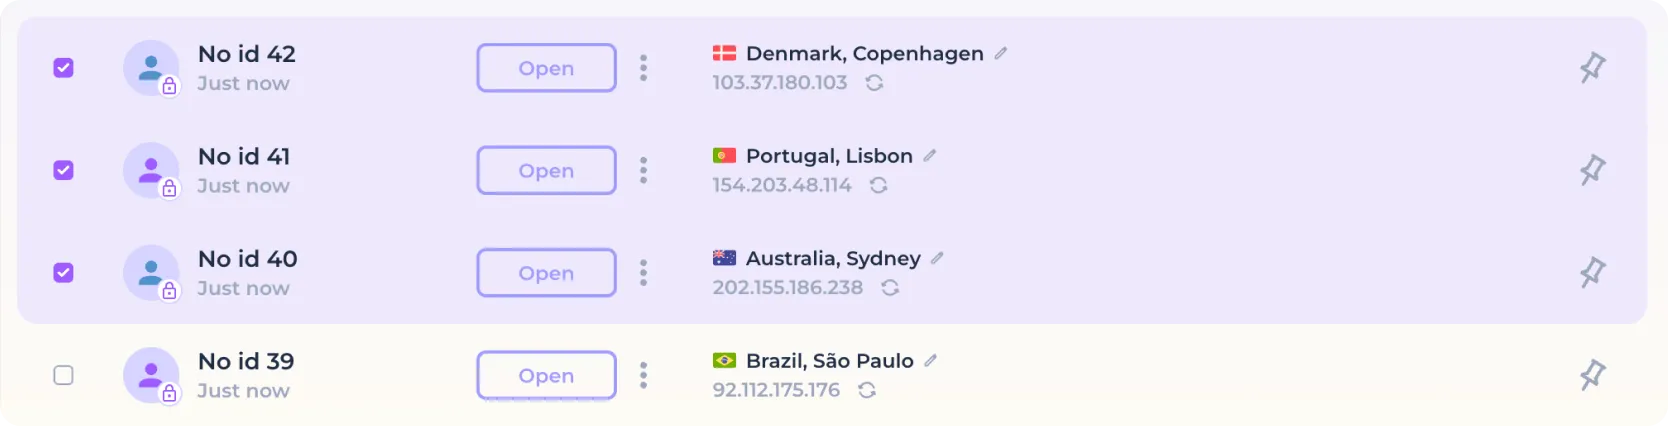
On the left side of the identity bar is a checkbox that is used to select an identity for the purpose of using mass actions. Click on it to select an identity or use the Shift key and left mouse click (Shift+Click) for multiple selections.
Identity actions
Use the "Open" button to launch the selected identity.

After the button is pressed, the program will automatically check the established connection and open a browser if the connection is functional. If the browser is successfully launched, the color of the button will change and the button itself will change its function to closing the browser window. To stop the identity browser, click on the "Close" button.

A new icon with the name of the identity will appear in the taskbar, which is the browser icon of the running identity and can be used for navigation.

In order to bring up the browser window of the running identity without the need to use the taskbar, move the cursor over the icon denoting the color and make a left mouse click.

The identity icon not only indicates the color assigned to it in the preset, but also shows whether local encryption is active and whether the identity is temporary (which will be deleted after closing). In case the identity uses local data encryption, you will see a "lock" icon.

In case the identity was created using the delete function after closing, you will see a "clock" icon.

To change the name of a previously created identity or its color, hover over the name (the cursor will change to a "caret") and left-click.
After entering the edit mode, enter the desired name in the field provided, and select a new color if necessary.
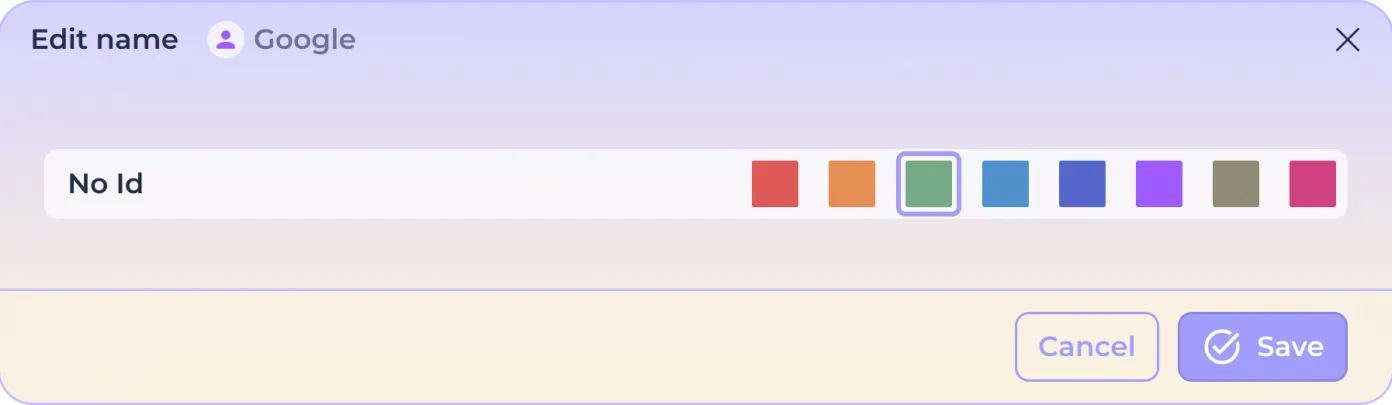
Click "Save" to make changes or "Cancel" to reset the changes.

The "triplet" icon to the right of the start/stop button gives you access to additional identity actions.
In this menu you have access to data actions, connection checks, and deletion of identities.
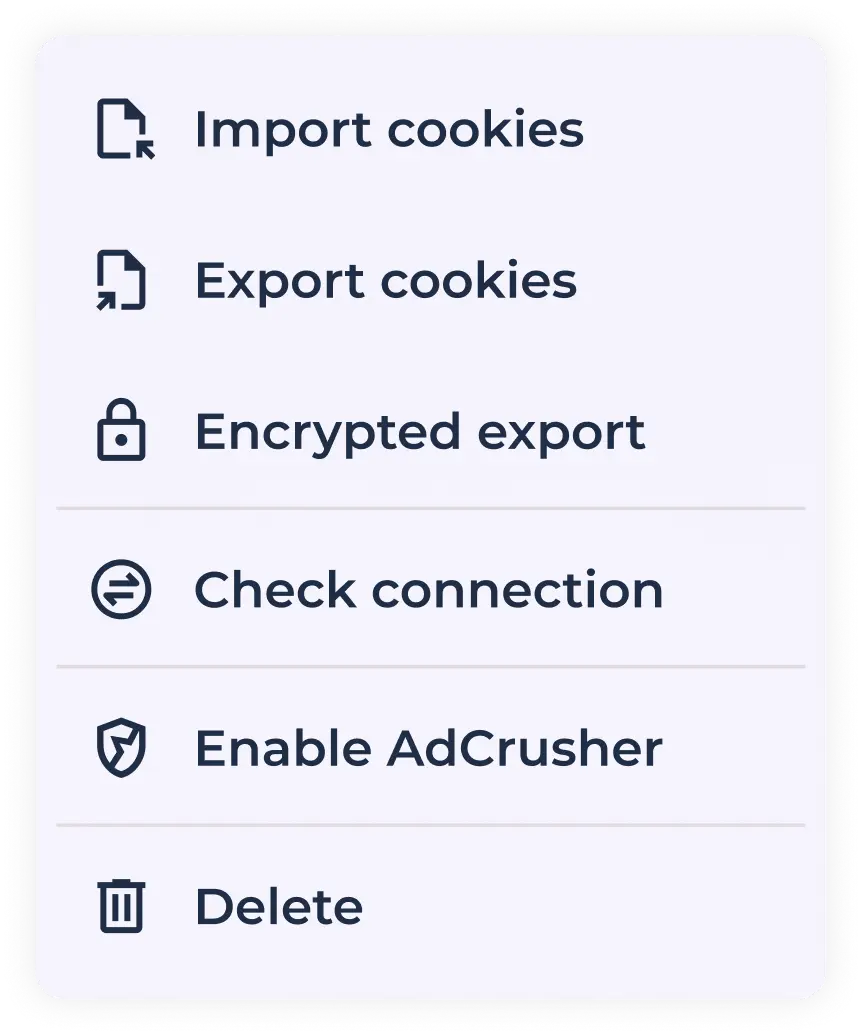
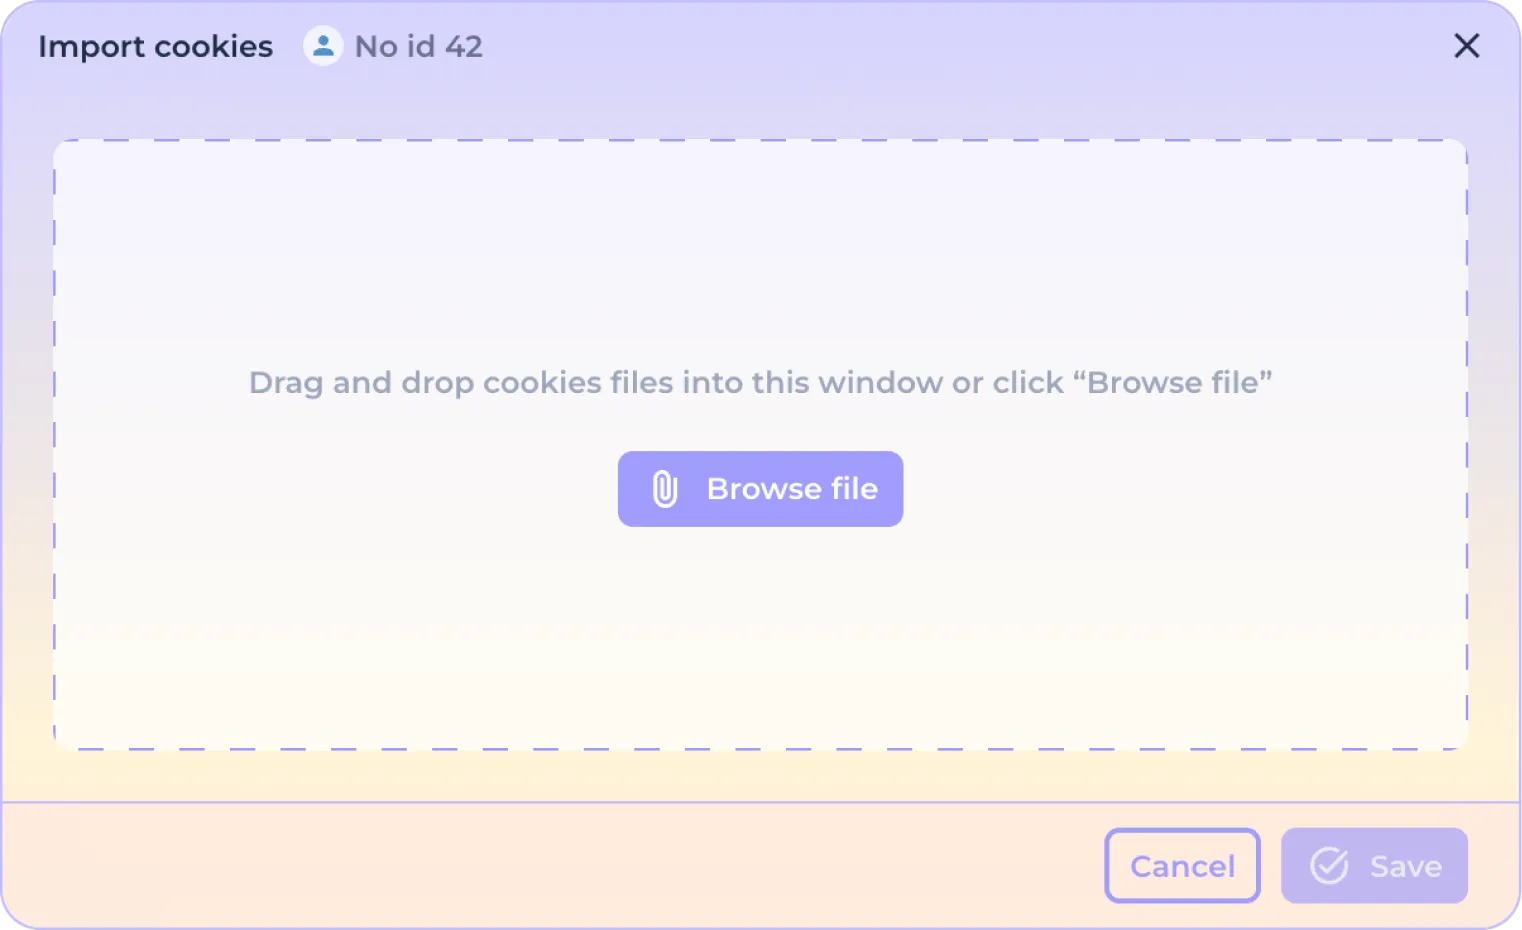
Import Cookies - you can import cookies previously exported from another browser/other identity into NOID. Importing files in Netscape and JSON formats is supported. You can use the automatic renewal of expired Cookies feature, which is enabled by default and can be disabled in the application's general settings. To import a Cookies file in a stopped identity click on the "Import Cookies" button.

Drag the file into the import window that opens (Drug n Drop), or use the "Select File" button to select the file using the file system.
After the file has been downloaded you will see the number of cookies ready to be imported.
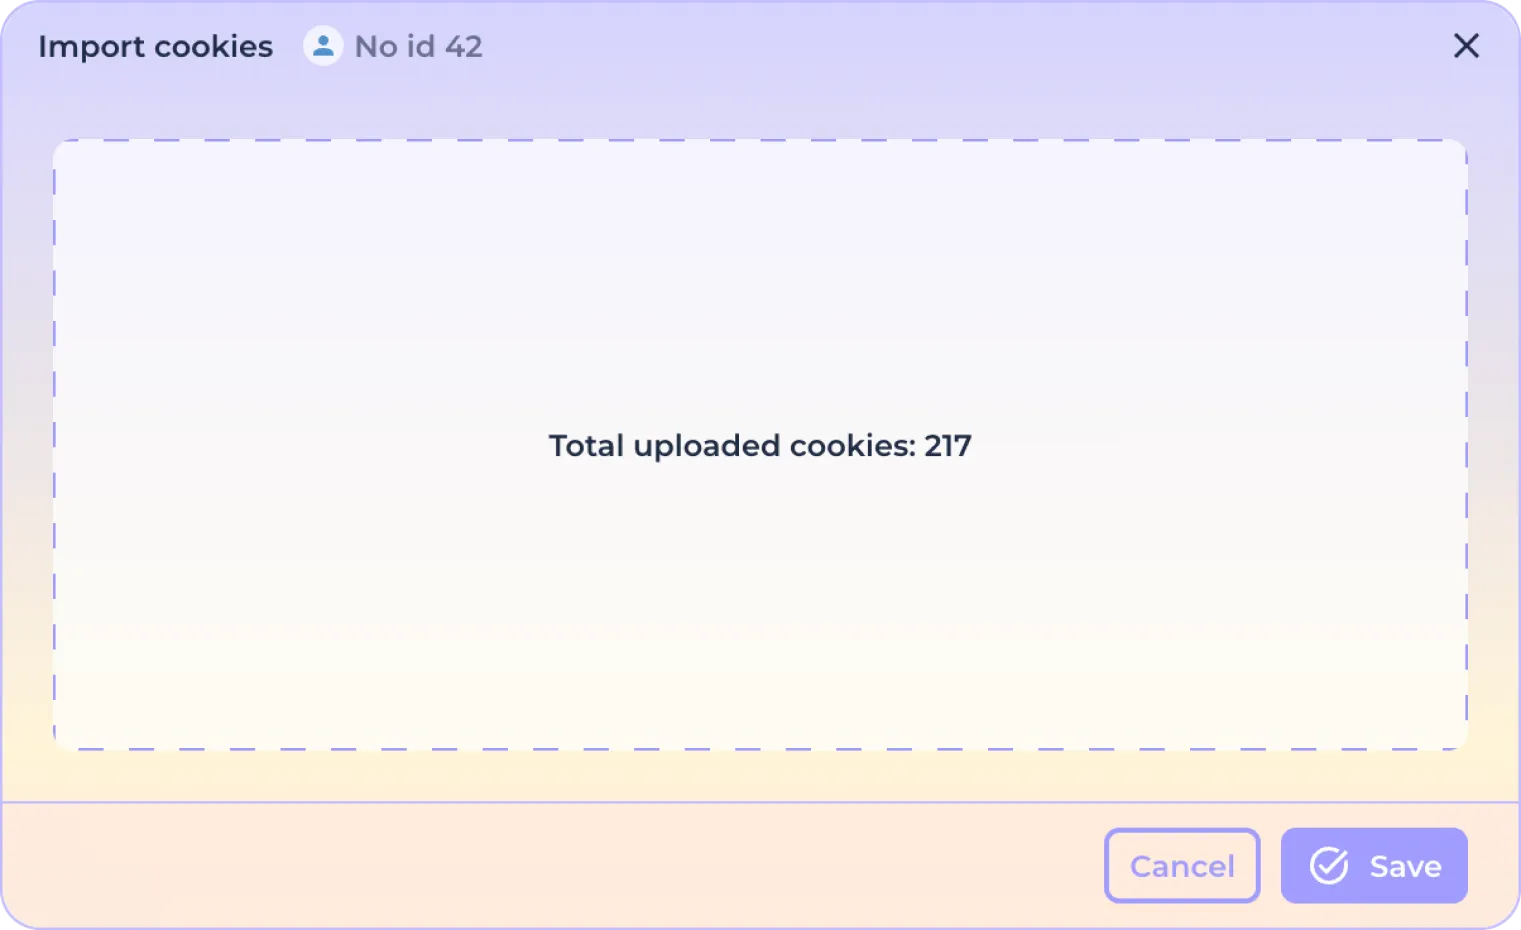
Click "Save" to complete the import or "Cancel" to cancel the download.
Export Cookies - export cookie file for further use in another browser/other identity to NOID. The default export format is JSON, but can be changed to Netscape in the application's general settings. To export cookies, click on the "Export Cookies" button. Note that the export is only available if the Cookies store in the identity is not empty.

After clicking the export button, edit the export file name and export directory in the window that opens, if necessary.

Then click "Save" to complete the export or "Cancel" to abort the cookie upload operation.

Encrypted export - local upload of the identity with all data in encrypted form for transferring the file to another user or for transferring it to another device. To export the identity to an encrypted file, click on the "Encrypted Export" button.

In the window that opens, enter the desired password that will be used when importing the identity into the NOID browser on another device. Please note that if the password is lost, the import will not be possible.
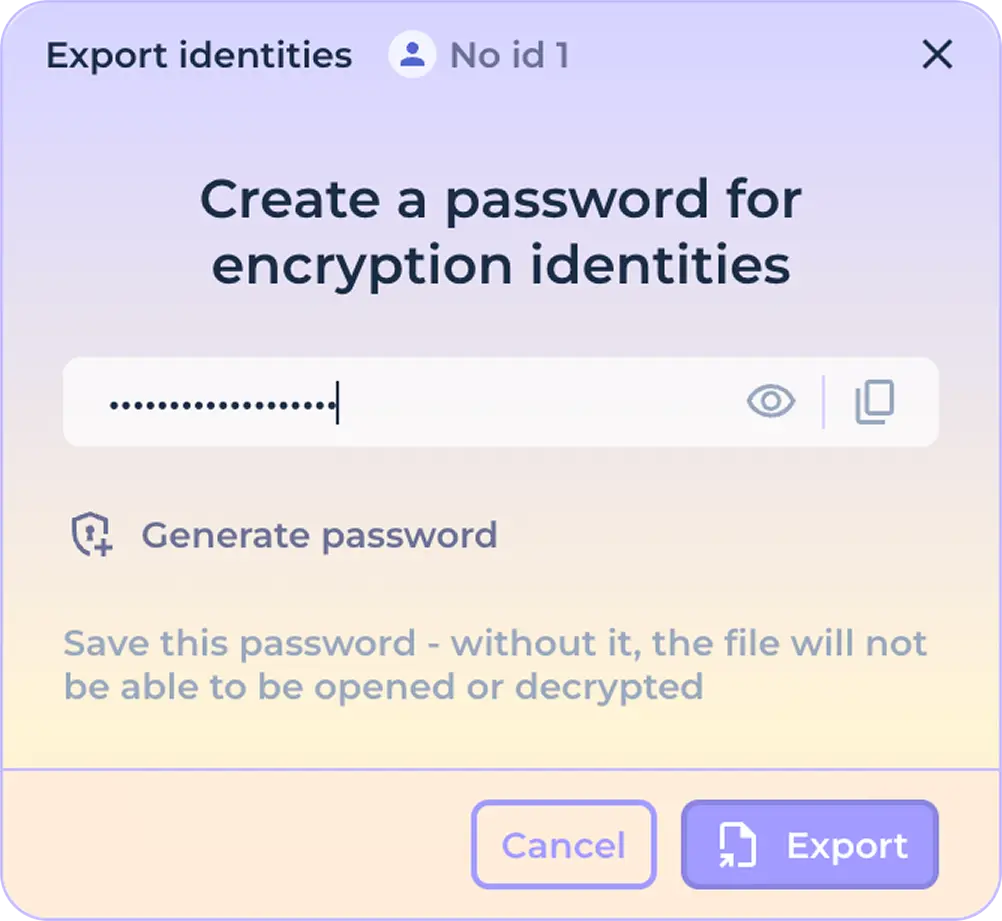
Click on the "Eyes" icon to display the characters you are entering.
Click the copy icon to copy the password to the clipboard.
Use the password generation function to generate a strong password in one click.

Click the "Export" button (replacement button) to complete the identity export or click the "Cancel" button to cancel the upload operation.

Check connection - allows you to check the operability of the installed connection without the need to start the identity. To check the connection, click on the "Check connection" button.

If the connection is successfully verified, the outgoing IP address in the section of the identity bar responsible for the connection will briefly turn green and you will be notified that the verification was successful.

If the check fails, the outgoing IP address will be colored red with an appropriate notification.

Delete - irrevocably deletes the identity without the possibility of data recovery. To delete an identity, click on the "Delete" button.

Then, in the window that opens, confirm that you understand that your identity and all data contained therein will be deleted without possibility of recovery.
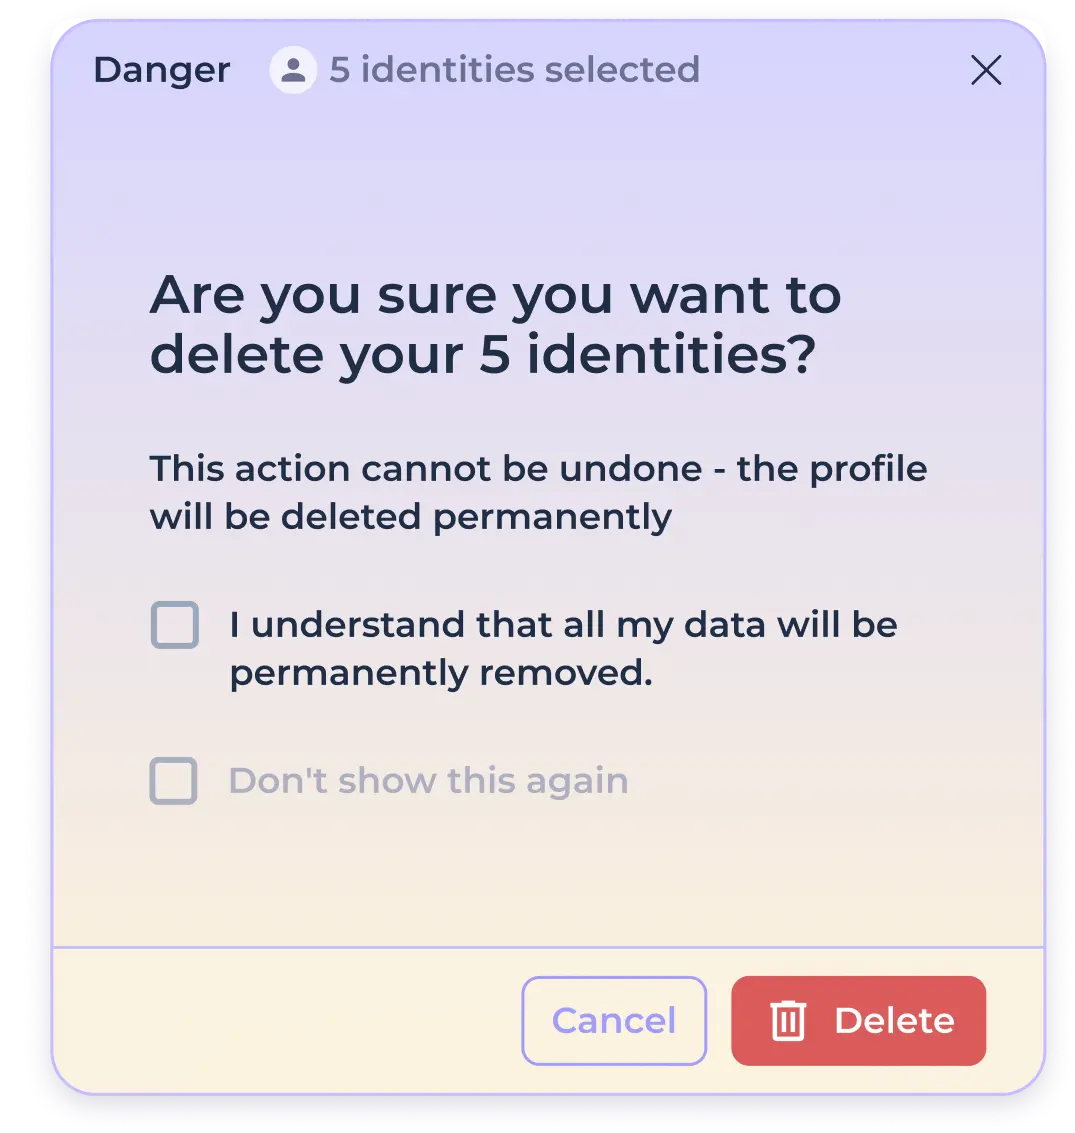
If you are sure of your actions and you do not want to see this notification again, mark that you do not want to see this notification in the future.

Click the "Delete" button to permanently delete the identity without the possibility of restoring it, or click the "Cancel" button to abort the deletion procedure.

Changing the connection used
When you create an identity, you get a connection preset in the preset - by default, built-in proxies with random geo-positioning are used. To quickly change the outgoing IP address in the identity without changing the country, click the update icon next to the data of the IP address of the connection being used.

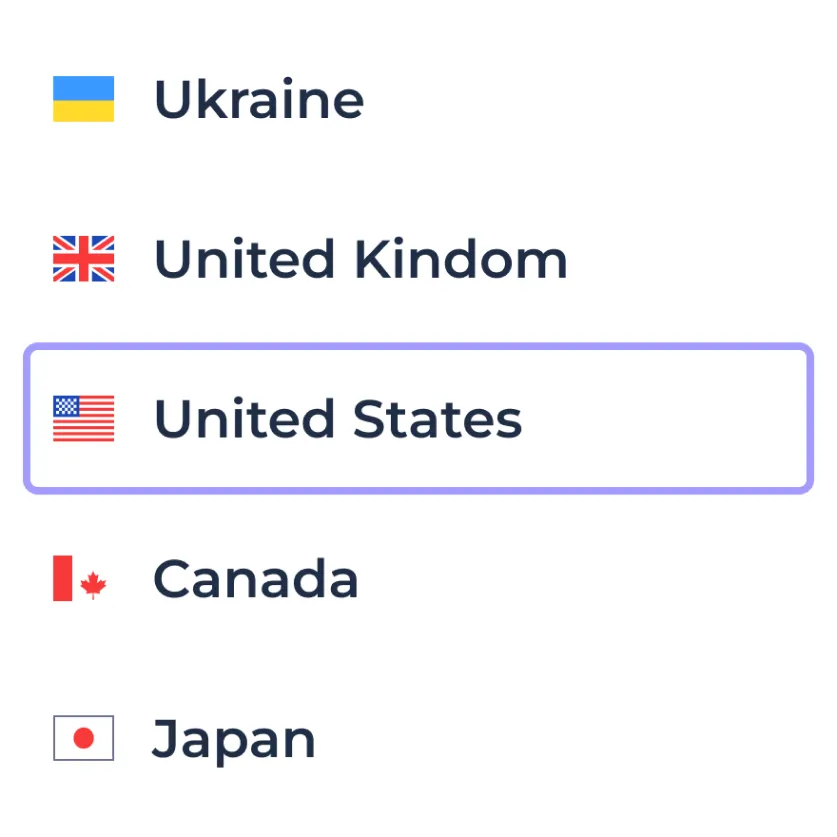
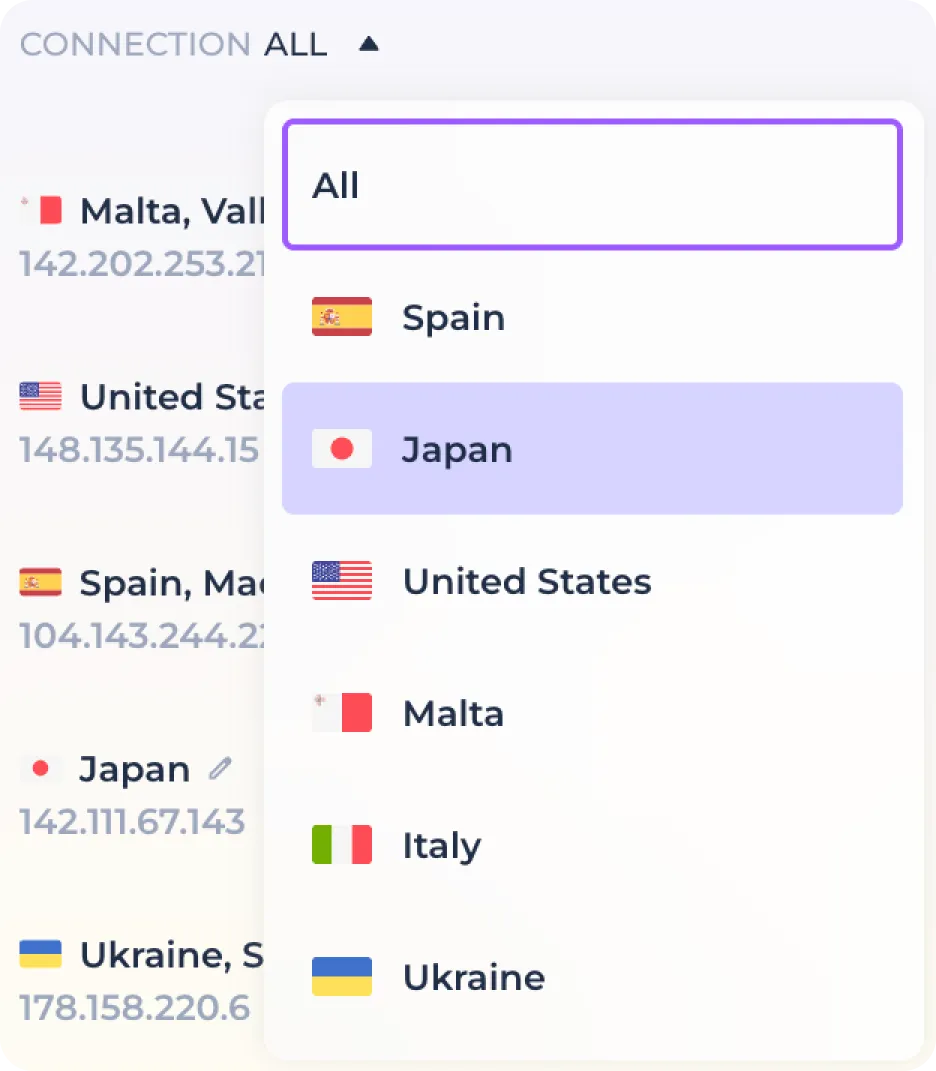
To change the country of the outgoing IP address or connection type, click on the geoposition of the connection being used.

After opening the connection editing window, you can change the country of the outgoing proxy address using the drop-down list.
Use the connection test button to make sure that the selected proxy is available.
Use the IP address update button to obtain a different outgoing IP address within the selected country.

Click "Save" to apply the changes or "Cancel" to leave it as it was.
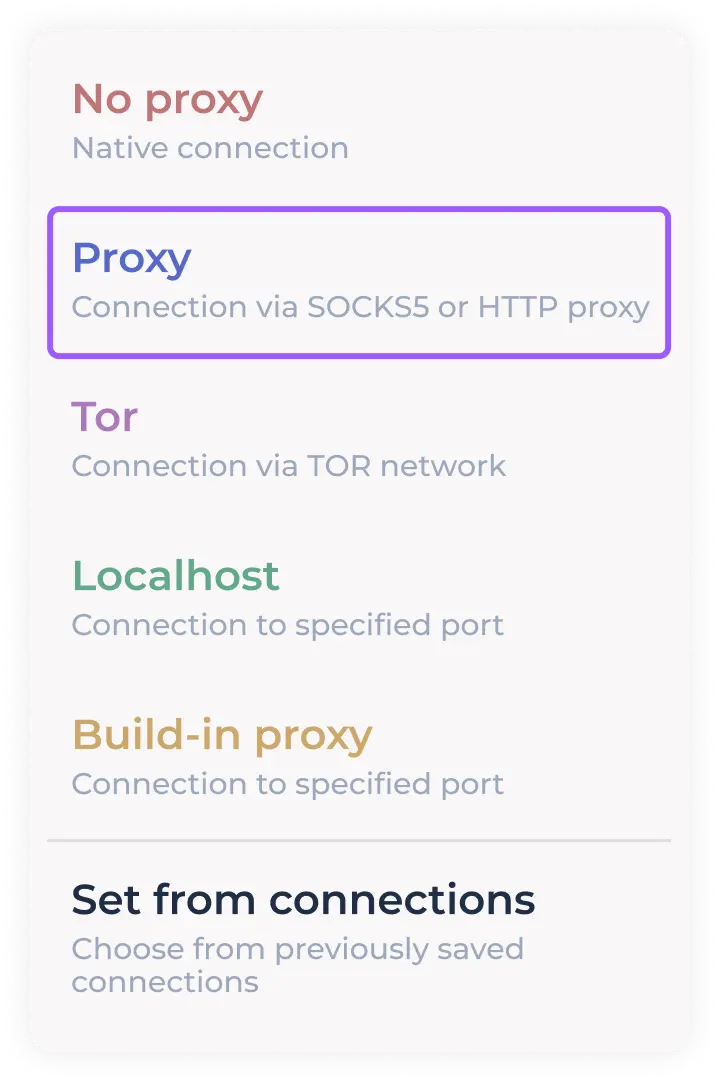
If you want to use a different connection type, use the drop-down list of built-in connection types.
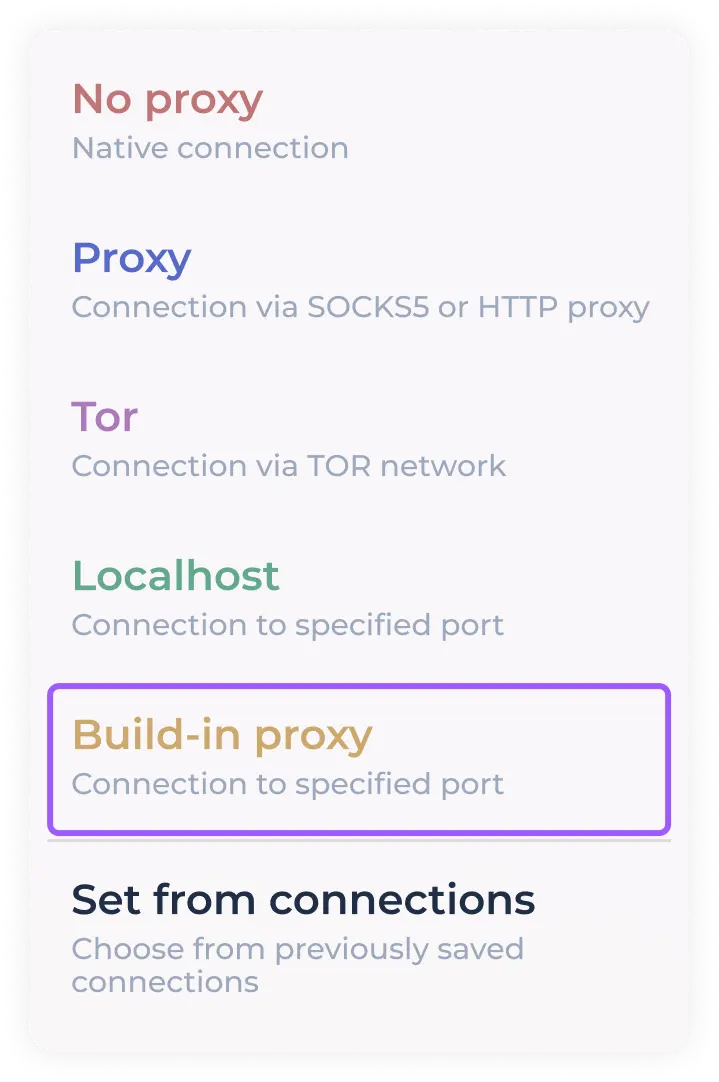
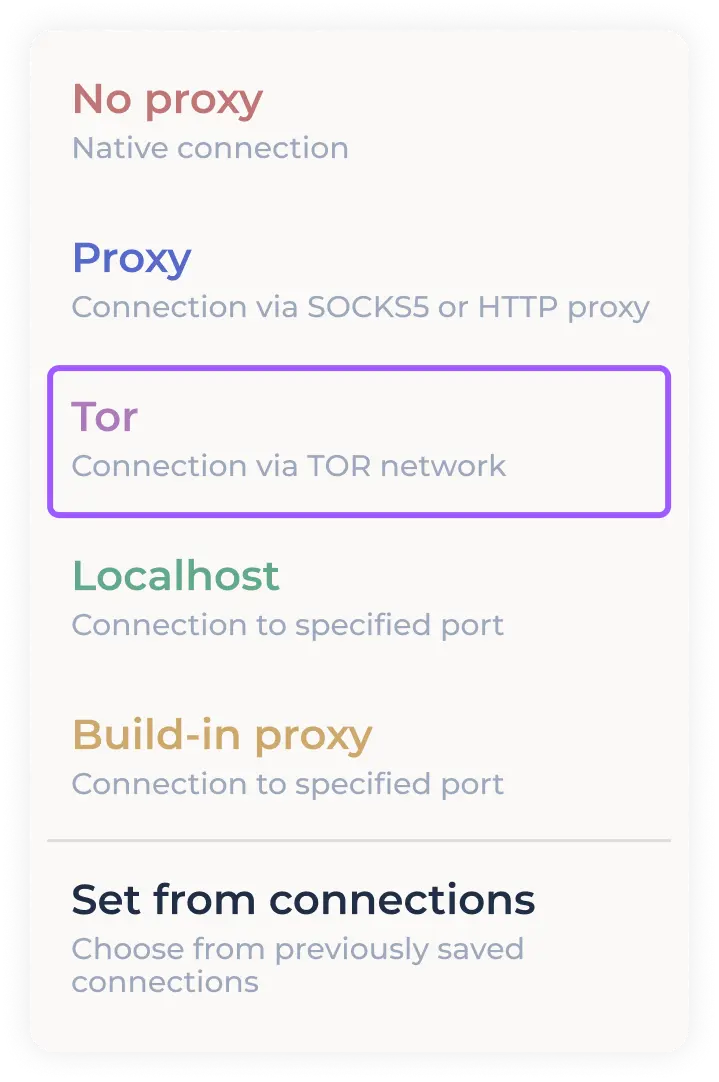
The program allows you to use the following connection types:
Direct - direct connection (the Internet connection of your computer is used). If you use VPN or proxying before the program, it will be used.
Proxy - you can use your own proxies in SOCKS5 or HTTP format
TOR - using the onion network for connectivity
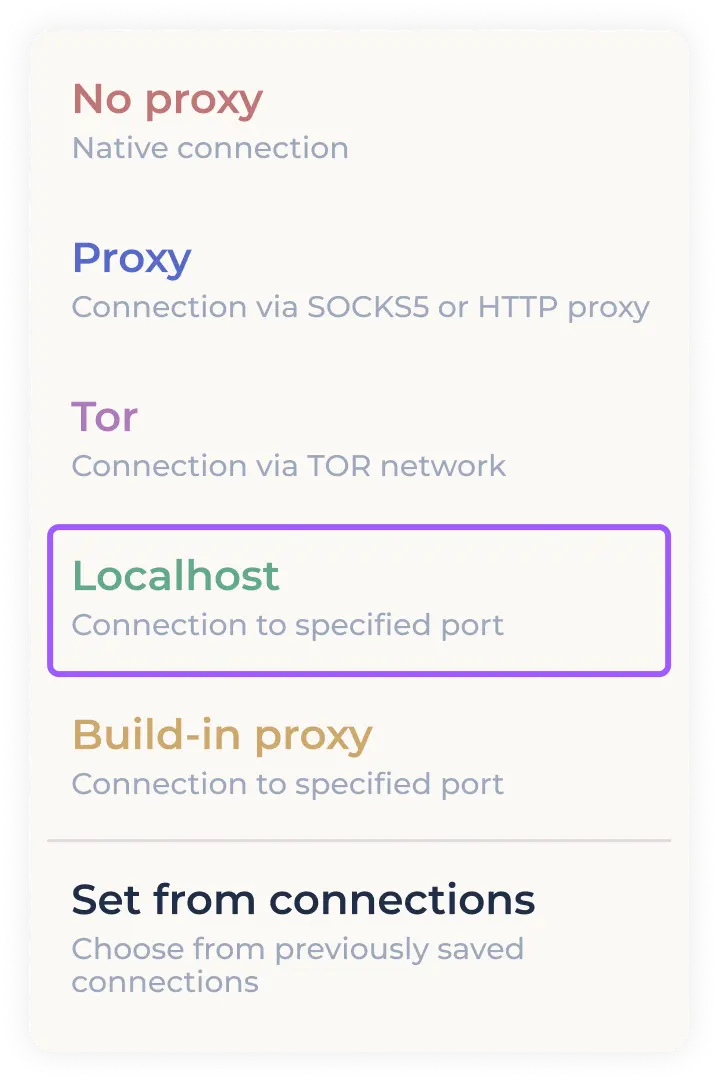
Localhost - connection using the selected port (in case your proxy client uses proxying per port)
Built-in proxies - free built-in proxies with outgoing country selection (used in the preset by default)
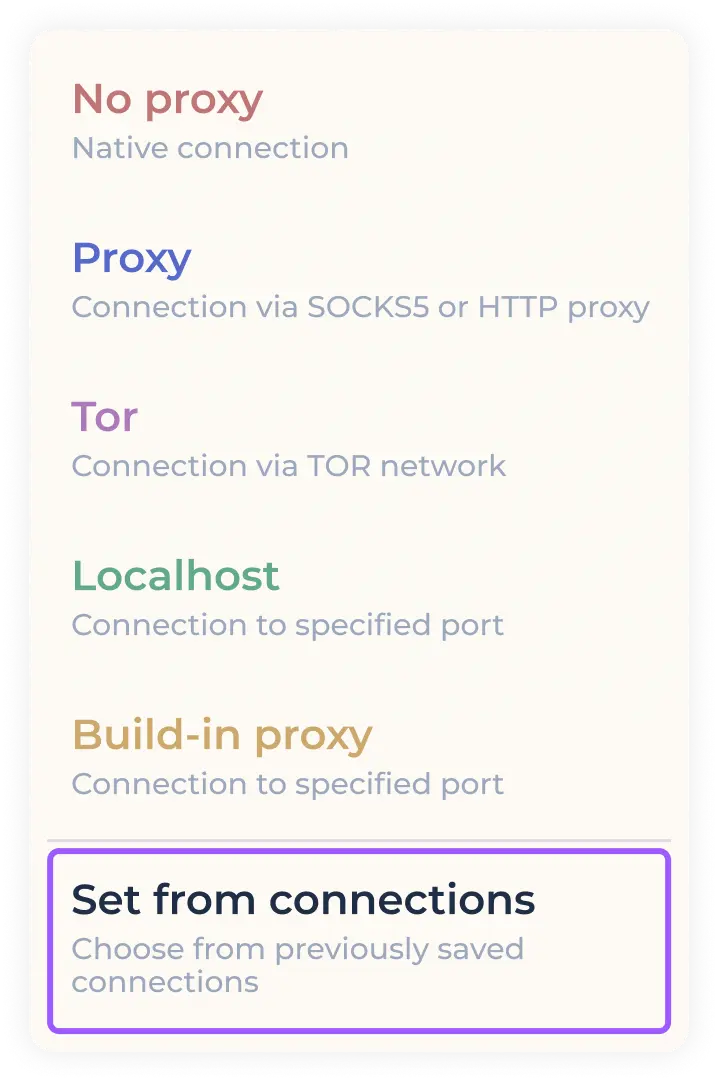
Setup from "Connections" - quick access to previously saved proxies (when using custom proxies, they are saved automatically)
Using custom proxies in SOCKS5/HTTP format
Select "PROXY" from the drop-down list of connection types used.
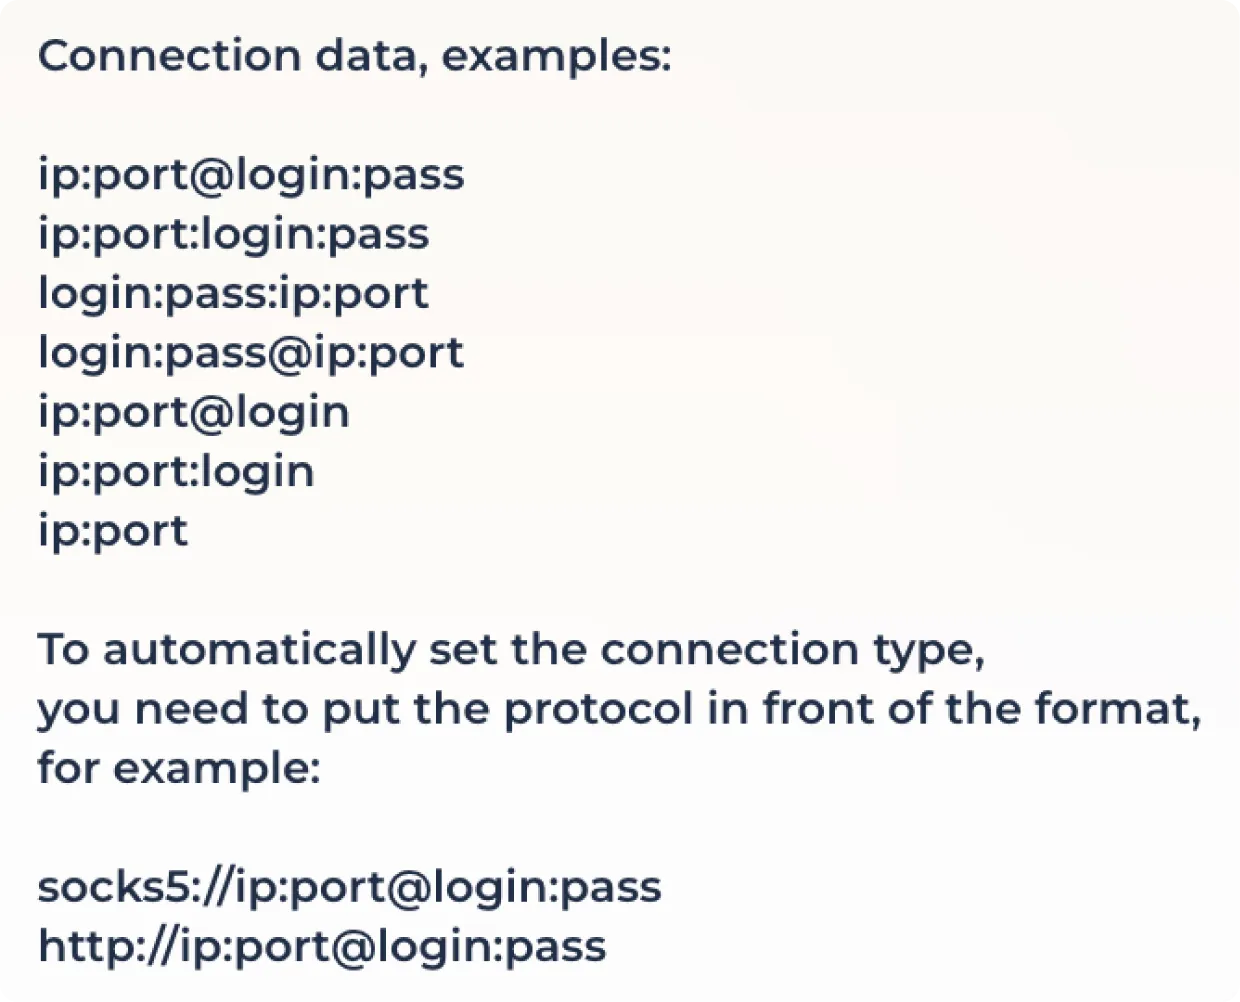
Enter the proxy data for the connection in the preset format in the field provided.

You can see the list of supported formats when hovering over the input field (with tooltips enabled)
Click the proxy test button to check the connection and set the geo position.
Some proxy providers provide the option to use a proxy with outgoing IP address change via a link. If you need to use this feature, enter the IP change link in the field provided.

Click "Save" to finalize the proxy configuration or "Cancel" to reset the changes.
When using a SOCKS5/HTTP connection with an active proxy rotation link, you can change the outgoing IP address using the update icon next to the IP address used.
Using TOR
To use the onion network, select "TOR" in the connection list.
Click on the connection test button to establish a connection to the TOR network.
Use the outgoing IP address change button to connect to another node.
Click "Save" to finalize the proxy configuration or "Cancel" to reset the changes.
To quickly change the node without entering the connection editing window, use the update icon next to the IP address you are using.
Using Localhost
To use proxying per port, select "Localhost" in the connection list.
Enter the address of the port to be proxied to in the appropriate field.

Click the connection test button to check the connection and set the geo position.
Some proxy providers provide the option to use a proxy with outgoing IP address change via a link. If you need to use this feature, enter the IP change link in the field provided.
Click "Save" to finalize the proxy configuration or "Cancel" to reset the changes.
When using proxying to a port with an active proxy rotation link, you can change the outgoing IP address using the refresh icon next to the IP address used.
Establishing a connection from previously saved connections
To quickly set a previously used/downloaded SOCKS5/HTTP proxy, select "SET FROM CONNECTIONS" from the connection drop-down menu.
In the opened window with previously saved connections, select the required proxy by clicking on it.
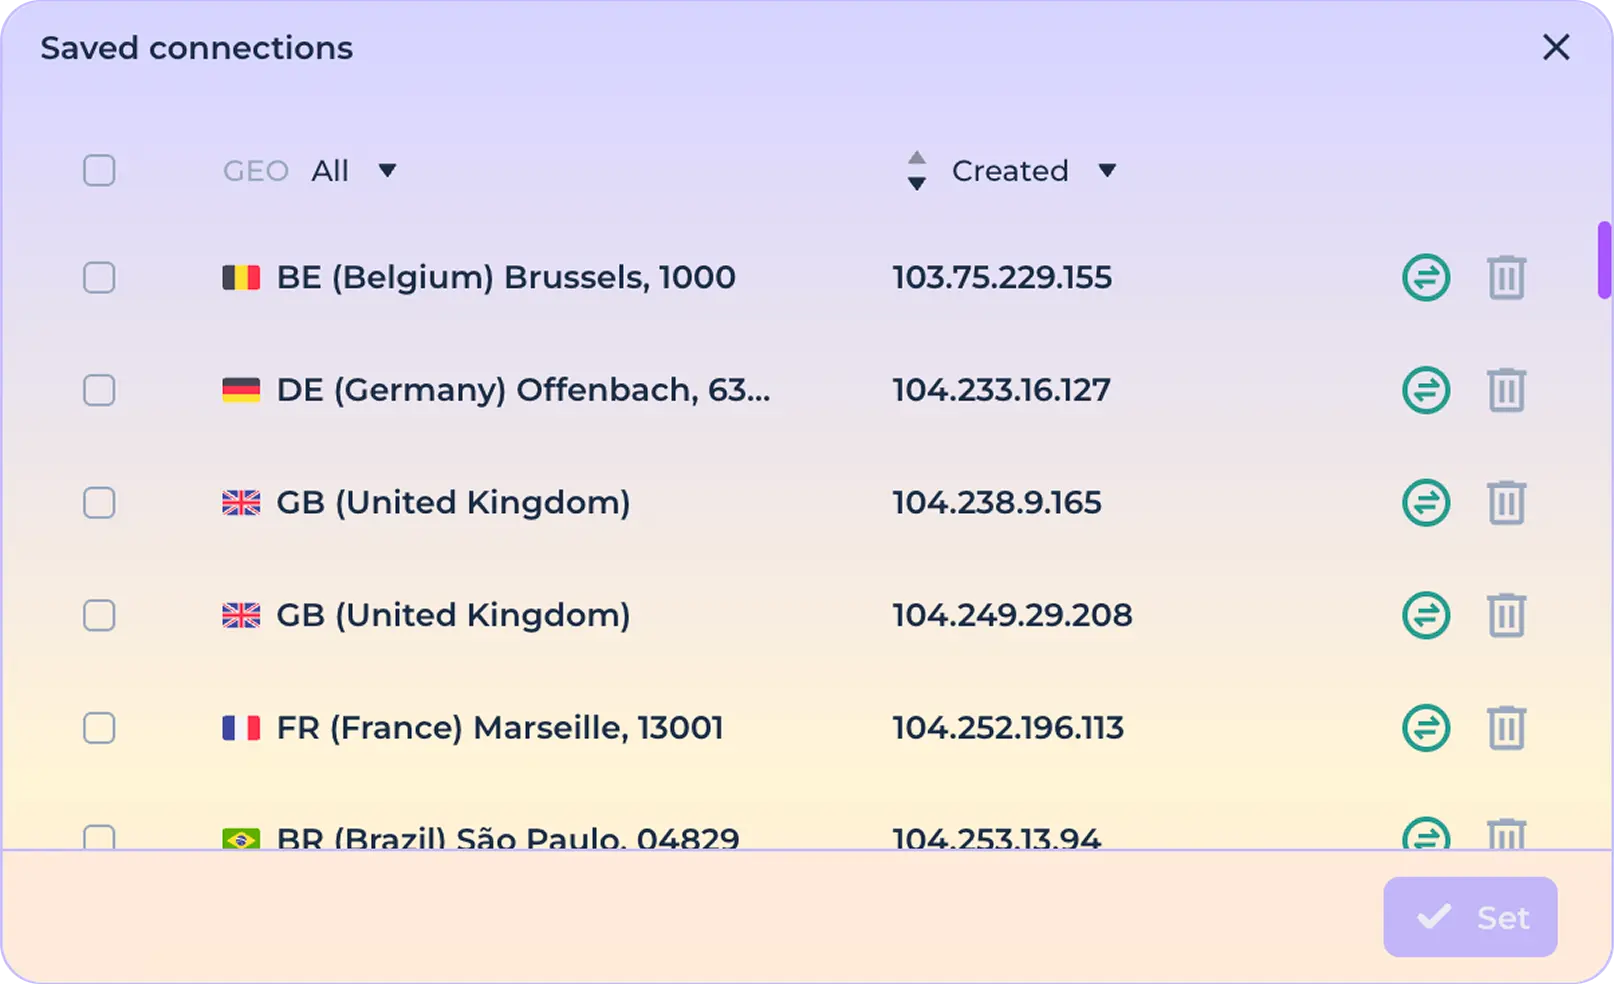
Click the "Set" button to finalize the configuration of using the selected connection.

If necessary, you can use the function of filtering proxies by geo-position before installation. To do this, use the filter and select the required country among the available ones.
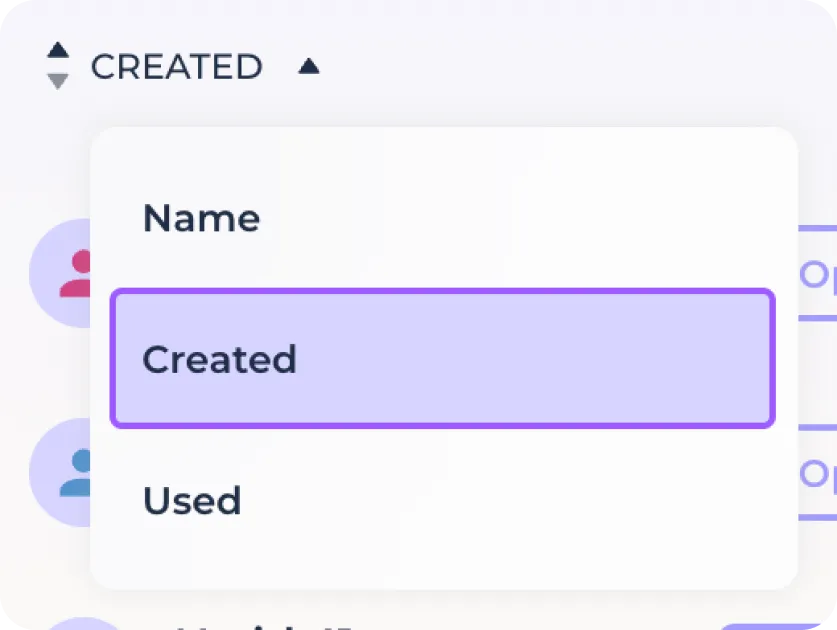
Or use sorting by add/use connection.
If necessary, you can check the connection before installation using the connection check icon.

Use the delete icon to remove an unwanted connection from the list of previously saved connections.
Working with tags
Use the tag icon to open the tag panel and activate the tag column in the identity bar.
The tags panel allows you to view existing tags, create them, and use tag filtering.

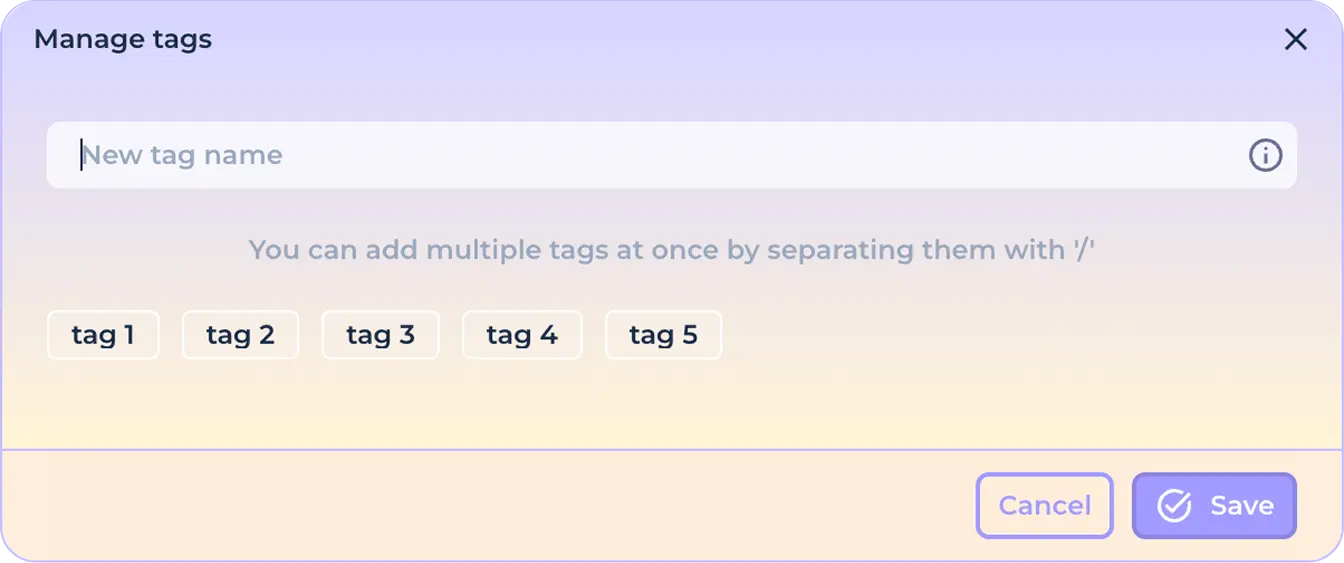
To manage tags, click the "Manage tags" button.

To create a new tag, enter its name in the field provided. You can create multiple tags at once by separating them with the "/" symbol.
To delete a tag, hover over it and click the "x" icon.

Click the "Save" button to save the changes or click the "Cancel" button to reset the changes.
In case a tag is assigned to at least one identity, hovering over it will change its visual appearance and a click will be available. In case the tag is not used - the click will not be available and the tag will have an inactive appearance.

To filter identities by the tag you are using, click on the tag.

To view identities that have no tag assigned to them, click on the "No Tag" tag.

To add a tag to a previously created identity, click the box in the tag column on the identity card.

And enter the name of the new tag in the appropriate field. You can create multiple tags at once by separating them with the "/" symbol.

Click the "Save" button to save the changes or click the "Cancel" button to reset the changes.
Or select from existing tags by left-clicking on them.

Then click "Save" to assign a tag to the identity, or "Cancel" to reset the changes.
After you have successfully added new tags to an identity, you will see them in the tag column of the corresponding identity card.

To remove tags from an identity, use the procedure in reverse order - click on the tags column to open the tag management window, click on the tags you want to deselect and save your changes.
Notes on identity
You can use quick notes to save important information when working with an identity. To add a new note, hover over the appropriate column and left click.

In the window that opens, enter the desired description.
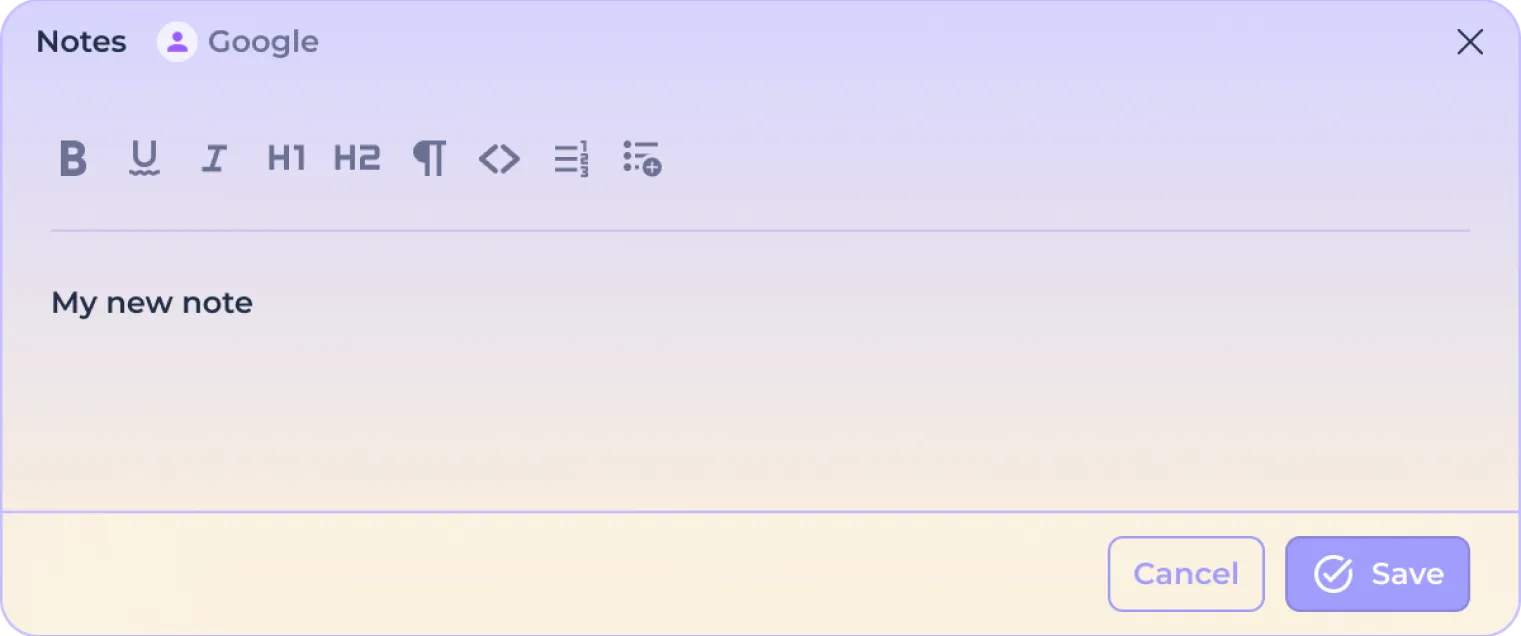
Use the built-in text formatting system to further emphasize the text.

Click on the "Save" button to save the text or the "Cancel" button to reset the changes.
Identity lock
You can pin an identity card to the top of the home screen to make it easier to work with frequently used identities. To pin an identity, click on the pin icon.
After successful anchoring, the identity will be moved to the top and separated from other cards, the icon will become filled.
To detach the identity card, press the Pin button again - the identity will take its original position on the home screen.