How do I change the preset parameters of the identities I create?
Each new identity you create in one click uses preset settings from a preset. The preset settings include options such as name, color, start pages, bookmarks, extensions, tags, connection, anonymization level, and additional features such as a built-in ad blocker, local encryption, and self-destruct after closing. You can set these options as you see fit.
How to open preset settings
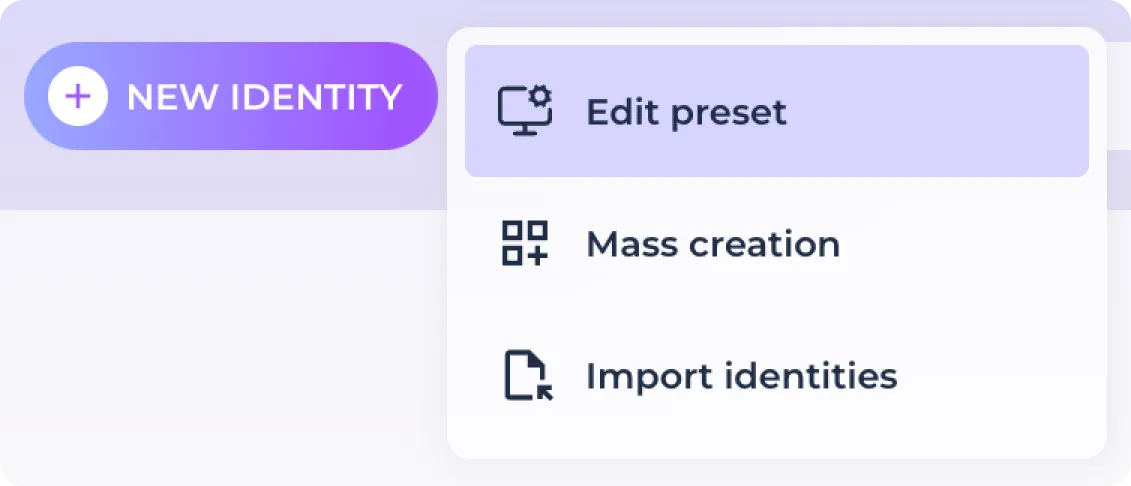
To open the preset settings window, click on the triplet next to the "New identity" button and select "Edit preset".
General identity settings
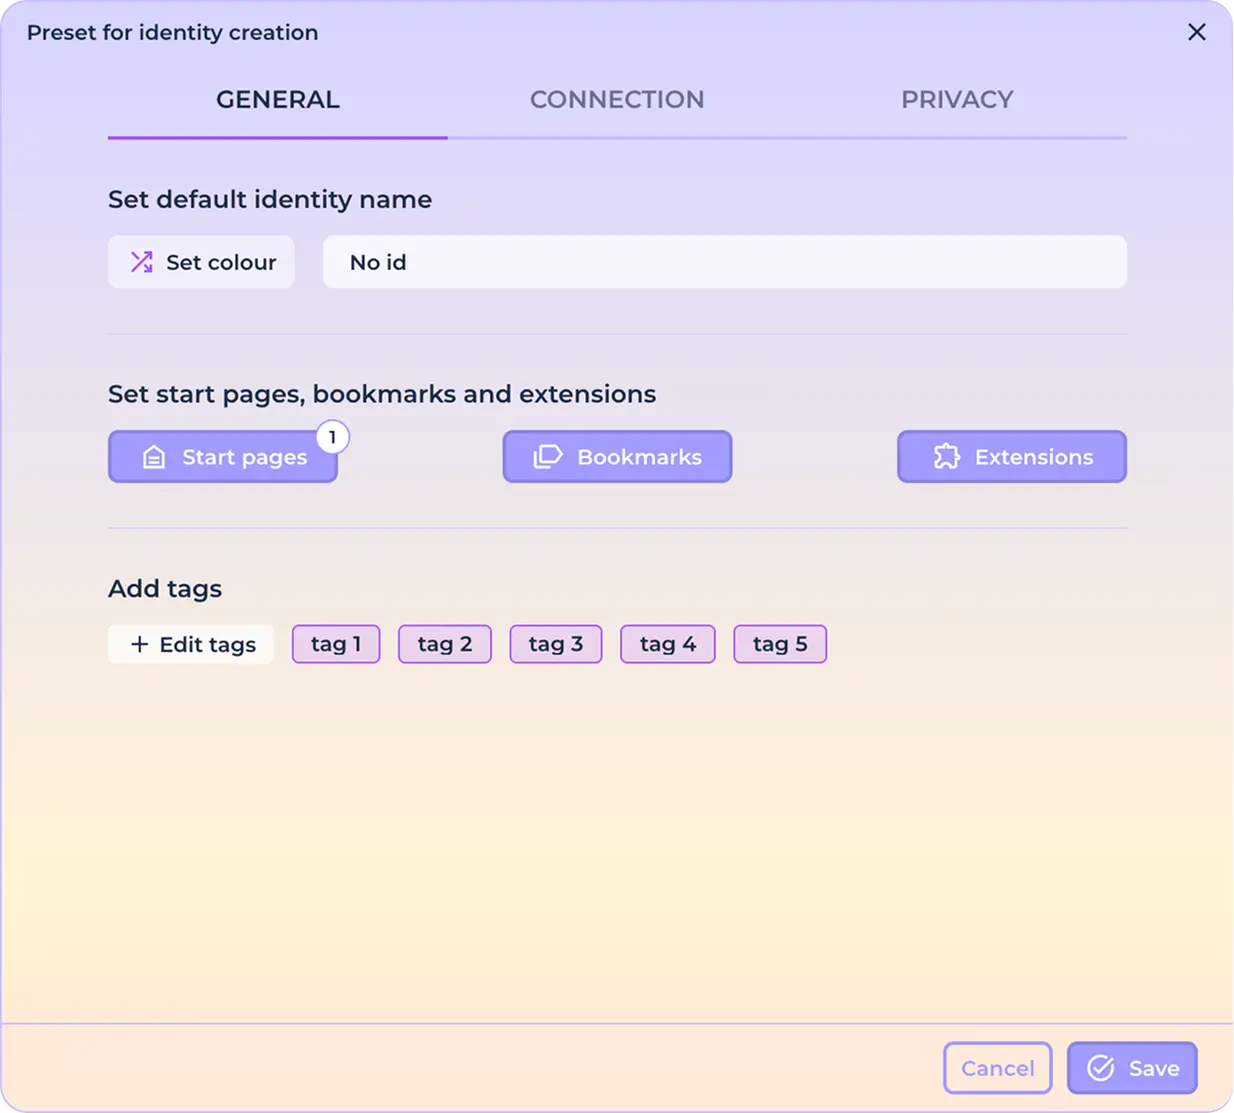
After opening the preset customization window, you have access to several tabs that separate the different subsections. The first tab is responsible for general identity settings, which includes name, color, start pages, bookmarks, extensions and tags.
Color and name settings
In order to set the color of the identity that will be displayed in its icon on the home screen and in the browser icon in the taskbar, click on the "Set Color" button.

The default color is random. To set a specific color, select it from the palette that opens and click on it.
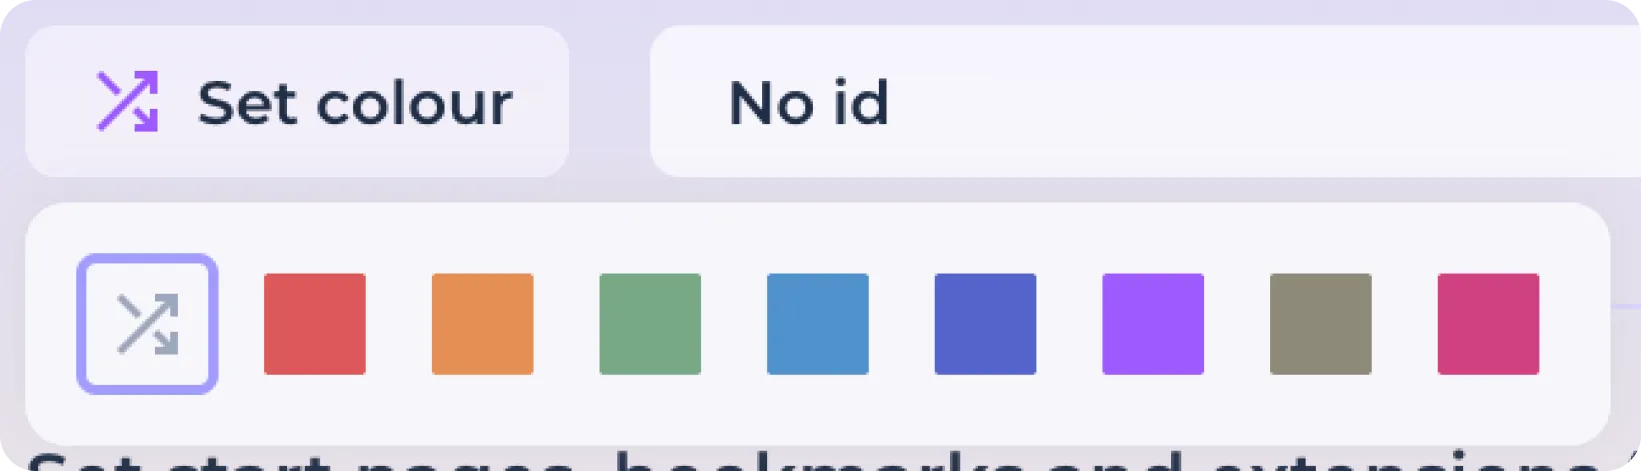
To specify the name of the identity to be created (default is No id), enter the desired identity name in the field provided. All new identities will use the specified name along with the numeric iteration 01, 02, 03, etc. when created.

Customizing start pages
To set the start pages that will be loaded after the identity is launched, click on the Set Start Pages button.

In the window that opens, enter the URL of the page in the field provided. You can also specify a name for this start page yourself, otherwise it will be assigned to it automatically depending on the address.
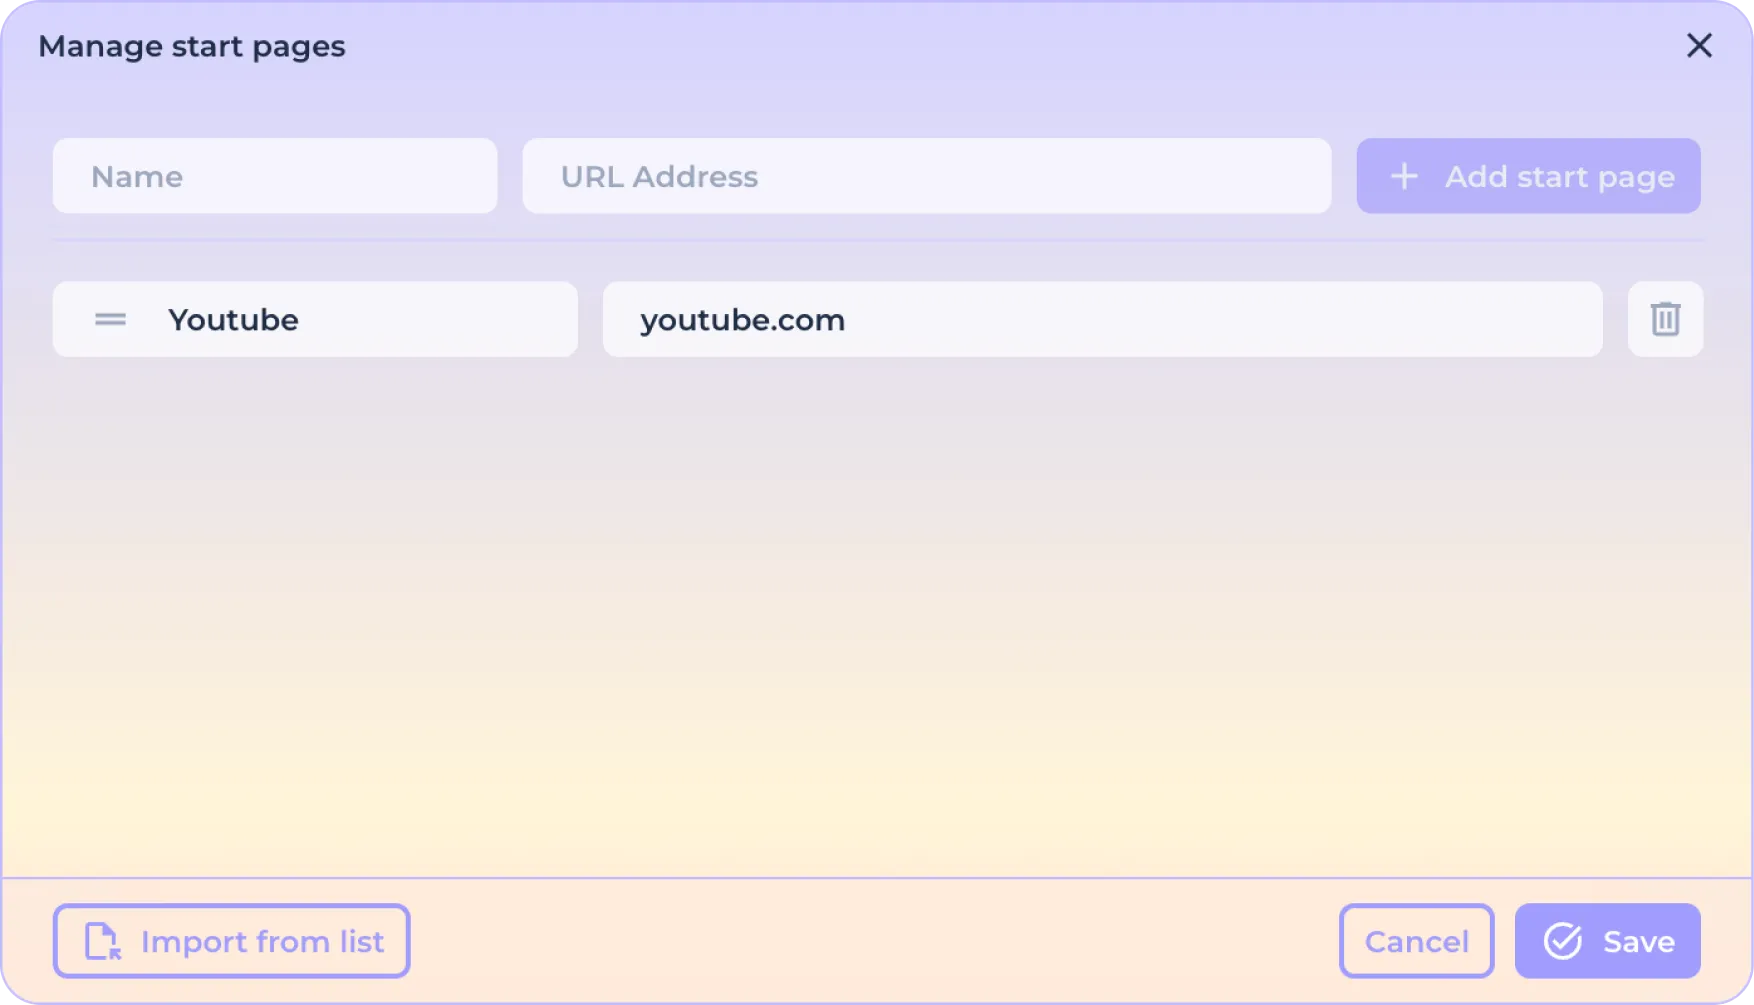
To add a new line and enter additional start pages, use the "Add Start Page" button.

In case you want to load the start pages as a list from the document, click on the "Import from list" button.

Copy the list of start pages into the opened window.
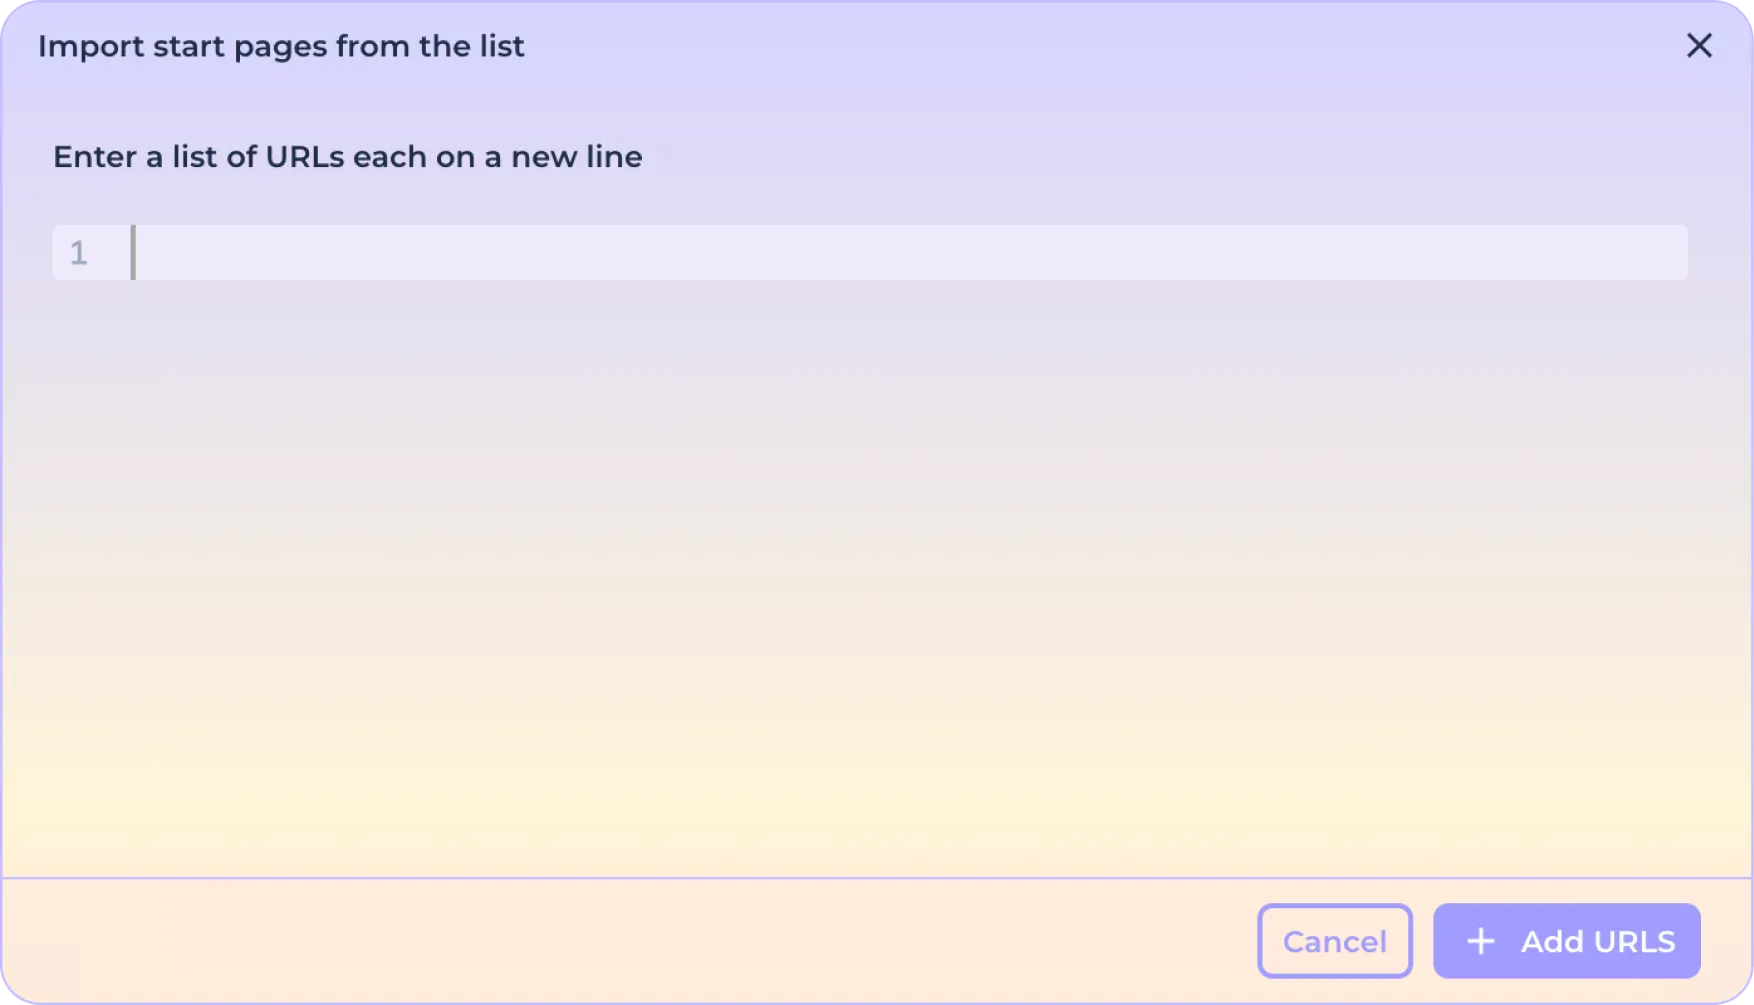
And click the "Add Addresses" button.

To finish customizing the start pages, click the "Save" button.

Or click the Cancel button to reset the changes.

Customizing bookmarks
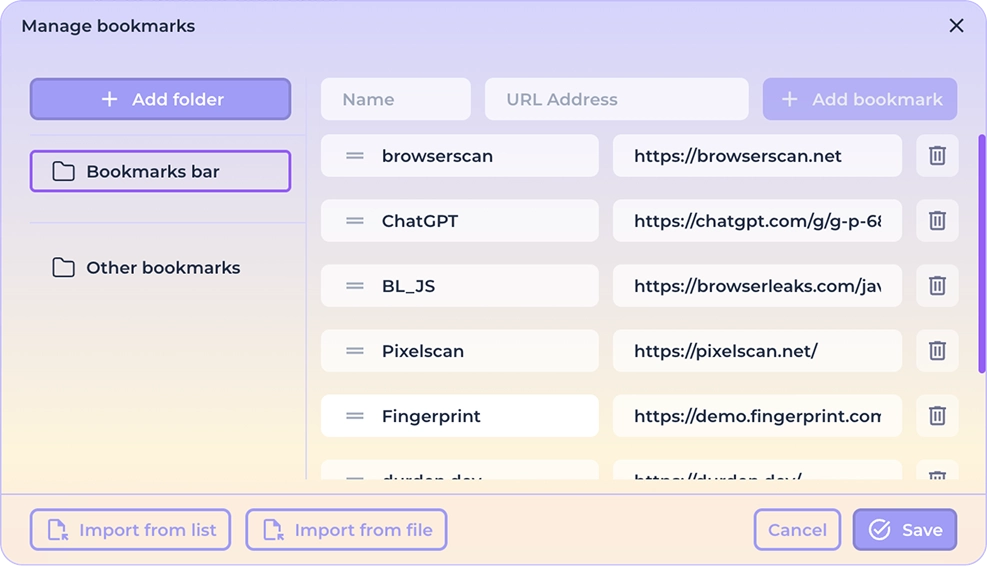
To customize the preset bookmarks, click on the "Bookmarks" button.

In the window that opens, select the folder to which you want to add the bookmark. The Bookmarks panel is selected by default.
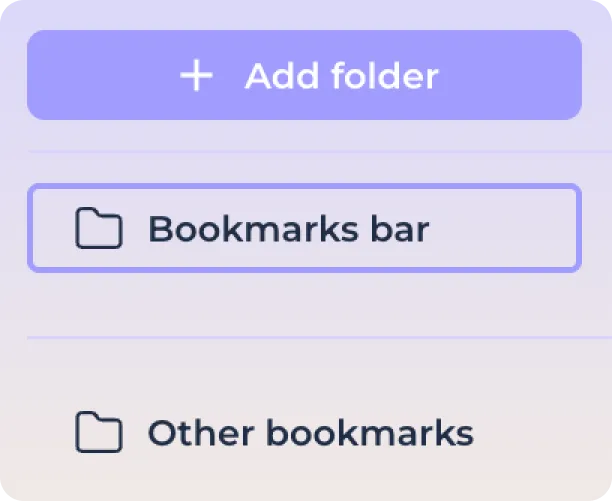
If necessary, you can create a folder in the selected section by clicking the "Add Folder" button.

After selecting the desired folder, enter the URL of the bookmark in the field provided. You can also specify a name for the bookmark yourself, otherwise it will be assigned to it automatically depending on the URL.

To add a new line and enter additional bookmarks, use the "Add Bookmark" button.

In case you want to load bookmarks as a list from the document, click on the "Import from list" button.
Copy the list of bookmarks into the opened window.
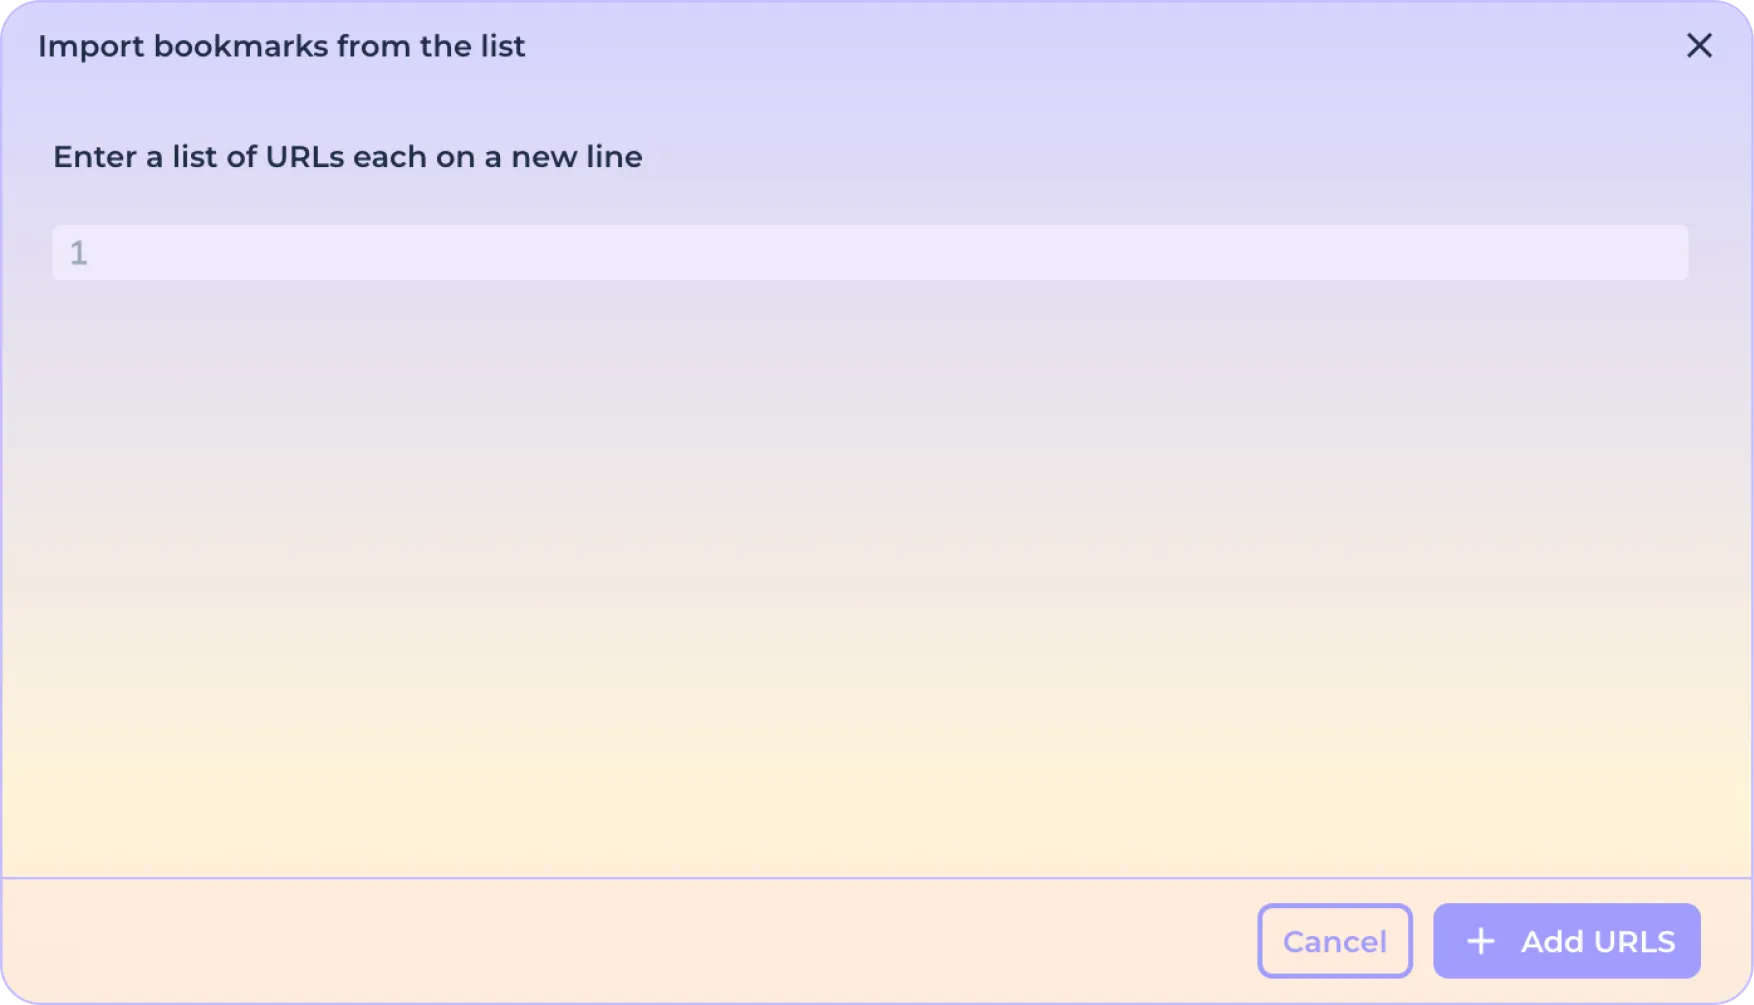
And click the "Add Addresses" button.
If you want to add bookmarks as a file previously exported from another browser, click the "Import from file" button.

In the window that opens, select the *html file and confirm the download.
In order to finish setting the bookmarks, click on the "Save" button.
Or click the Cancel button to reset the changes.
Installing extensions
You can download and install extensions, such as cryptocurrency wallets, directly from the Chrome Store. To install an extension, click on the "Extensions" button.

In the opened window you can see the previously downloaded extensions.
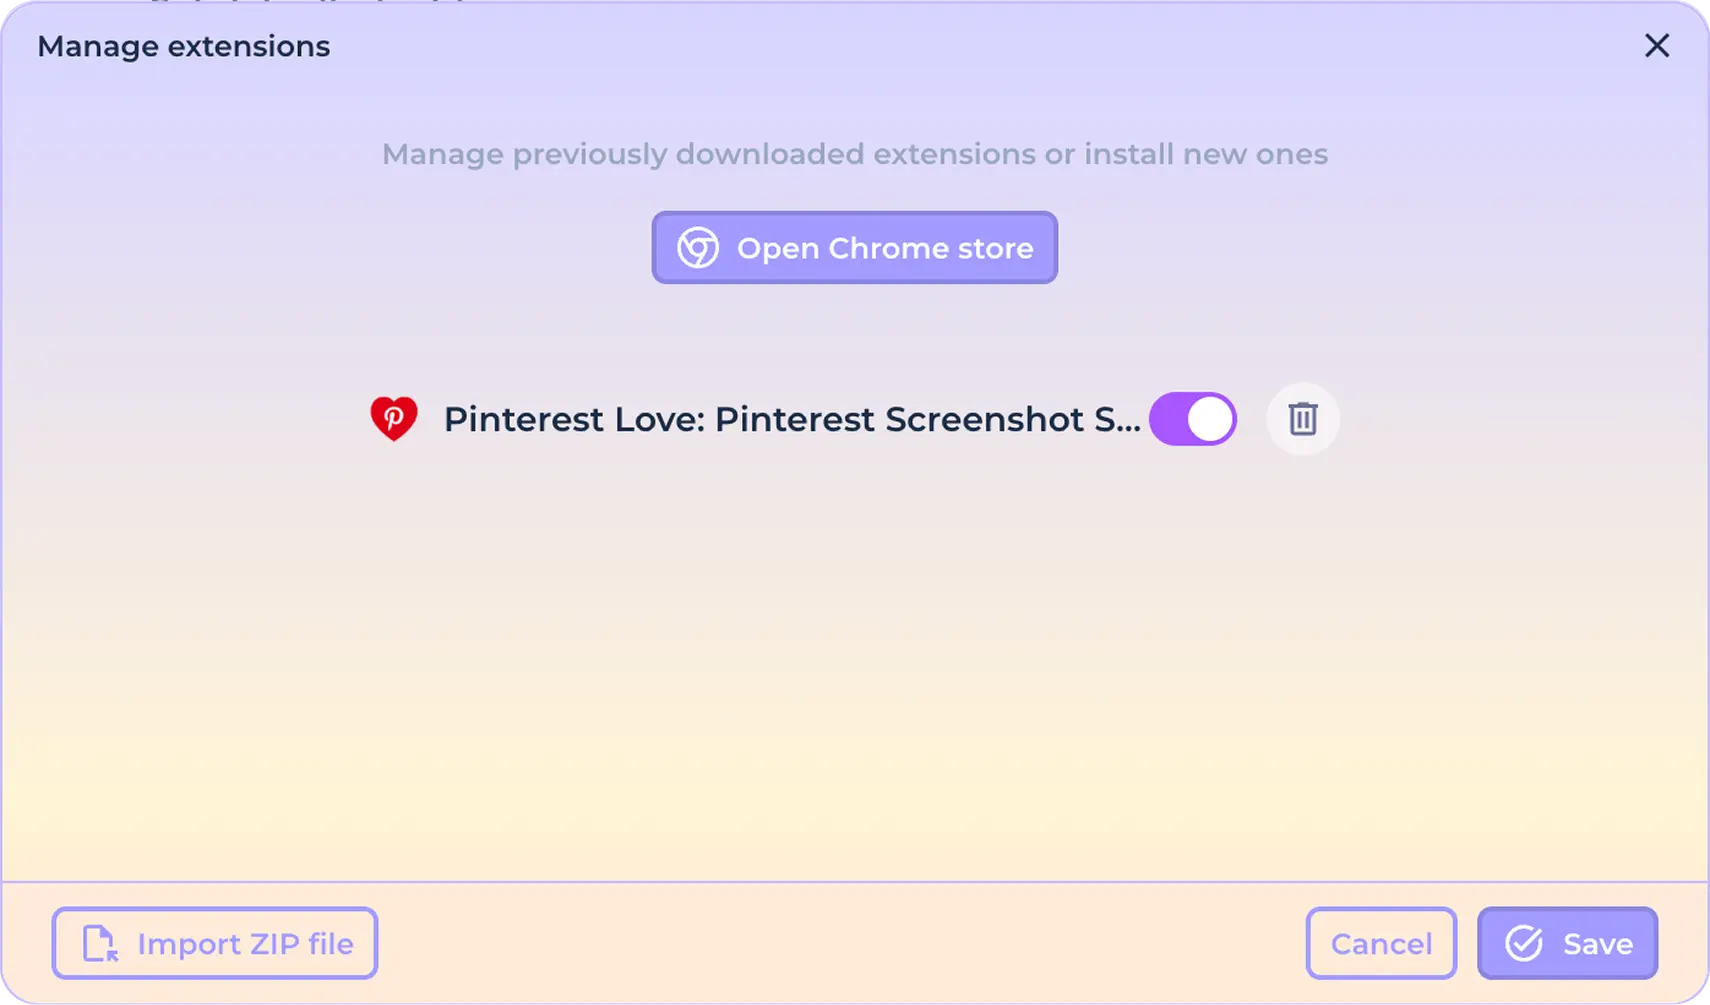
To enable or disable the use of extensions, use the switch next to the extension name.

To remove an extension use the delete icon.
To install a new extension from the Chrome store, use the "Open Chrome store" button.

In the window that opens, search for the extension you need, click on it and click "Add to Chrome".

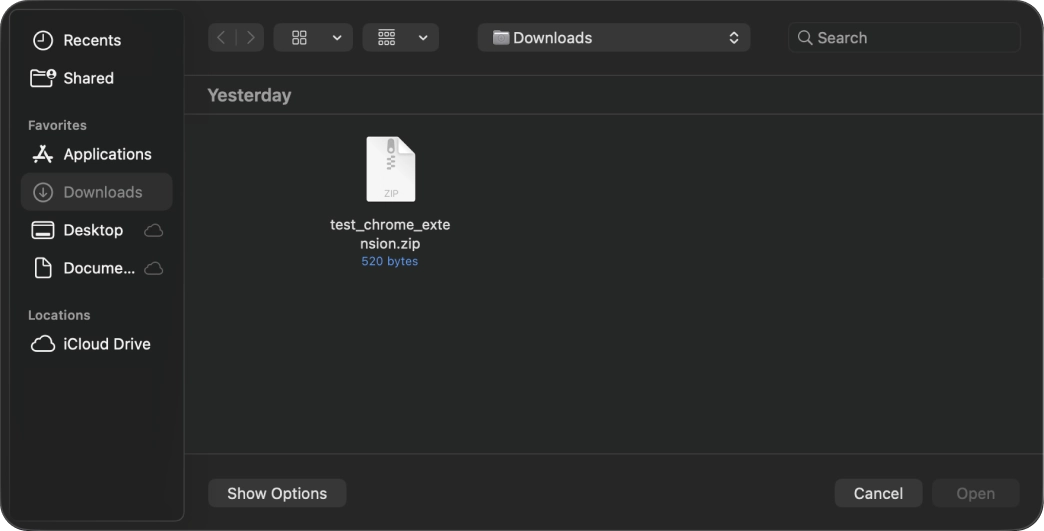
If you want to load your own extension, click on the "Import ZIP file" button.

In the window that opens, select the extension ZIP archive (.zip) and click "Open".
To finish customizing the extensions, click on the "Save" button.
Or click the Cancel button to reset the changes.
Tag management
For easy sorting and searching when using a large number of identities, you can label them with different tags. If tags are selected in the preset, each new identity will be labeled with them.

To configure tags, click the "Edit tags" button.

To create a new tag, enter its name in the field provided. You can create multiple tags at once by separating them with the "/" symbol.
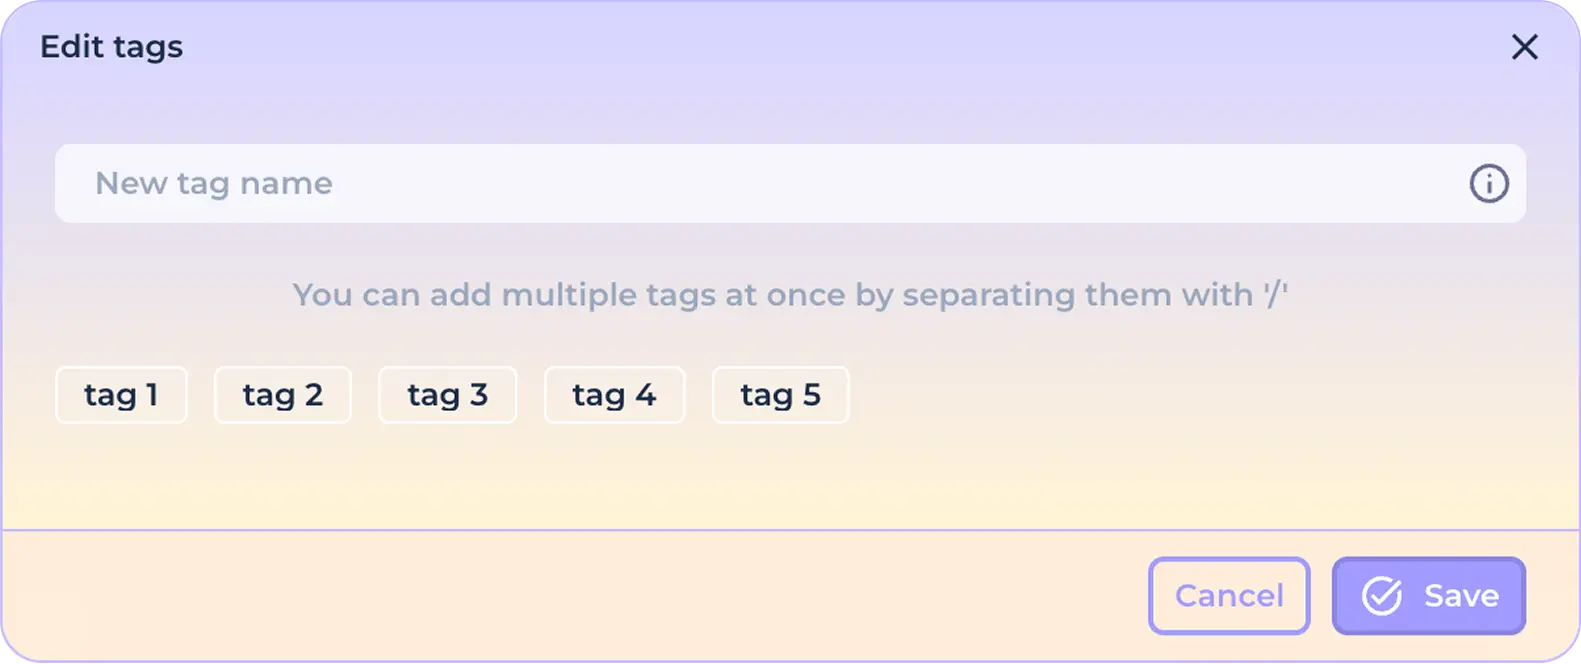
Click the "Save" button to save the changes.
Or click "Cancel" to reset the changes.
Click on the desired tag to activate its use when creating a new identity. The active tag will be visually highlighted.

Click on the active tag again to cancel its use.

When you have finished configuring the general preset settings, click the "Save" button to save your changes.
Or click the "Cancel" button to reset the changes.
Setting the preset connection
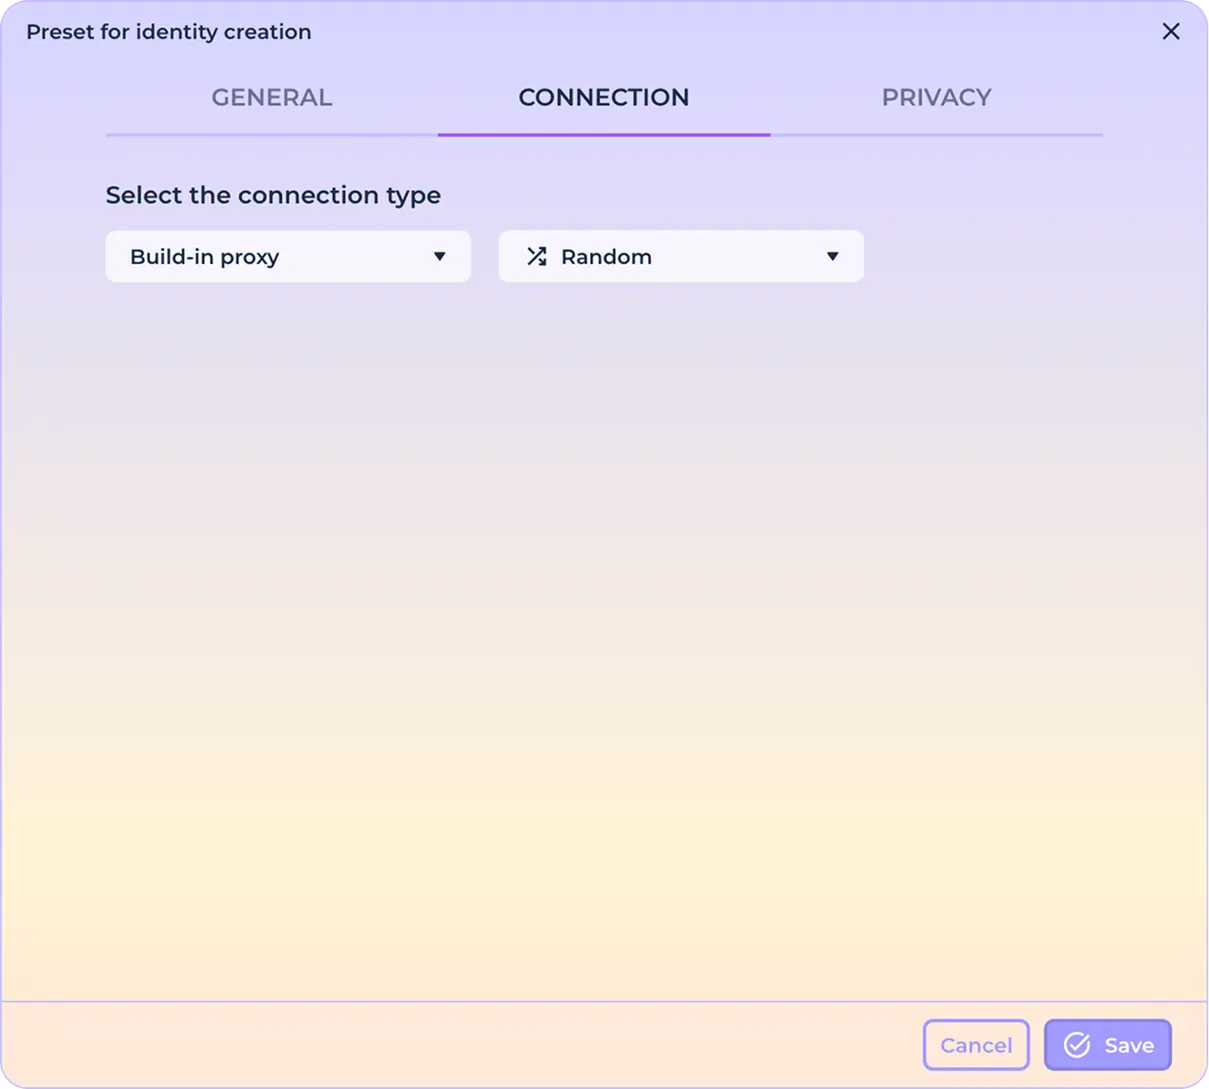
Click the "Connections" tab to configure the preset connection settings.
Built-in proxies
Default connection - built-in proxies, random country. In order to select a specific geo-position of the outgoing IP address of the connection, open the drop-down list responsible for the geo-position of the connection.
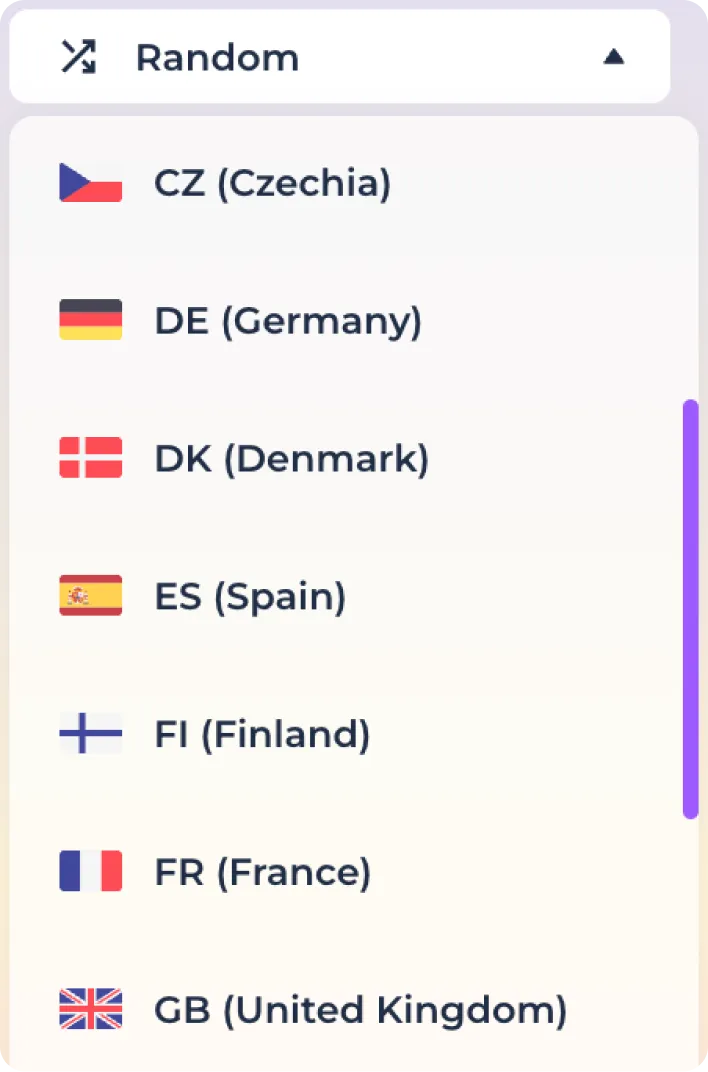
Use the search function to quickly find the desired geo-location.
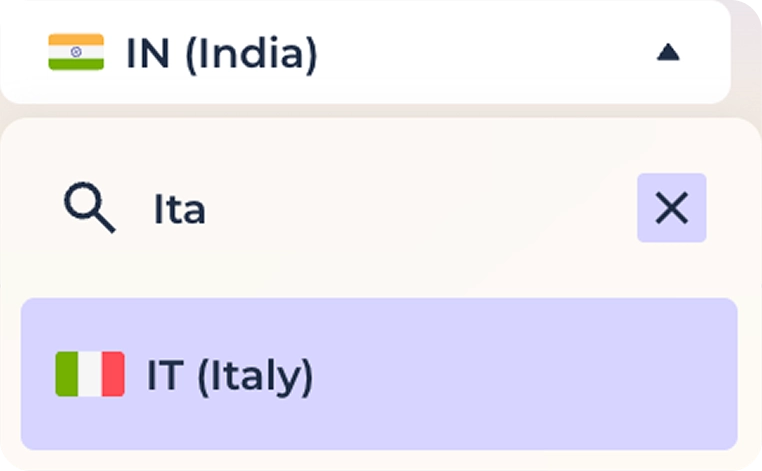
Click on the desired country to ensure that all outgoing IP addresses in the created identities correspond to this geo-location. Note that the number of proxies in different locations may vary.
Using custom proxies in SOCKS5/HTTP format
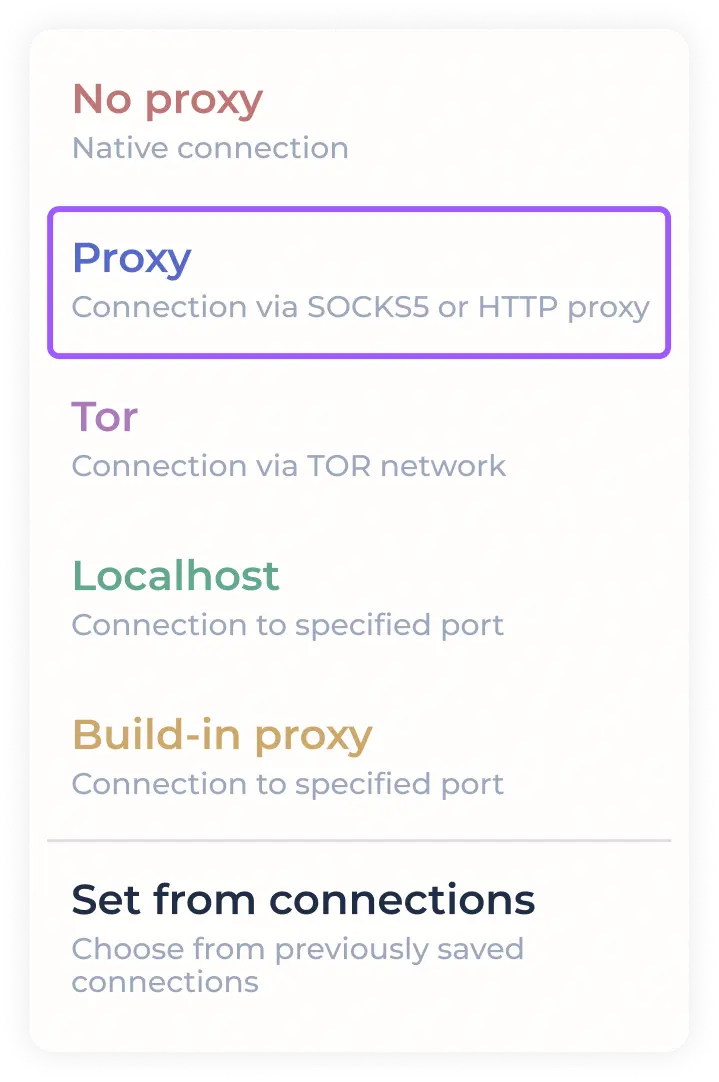
Select "PROXY" from the drop-down list of connection types used.
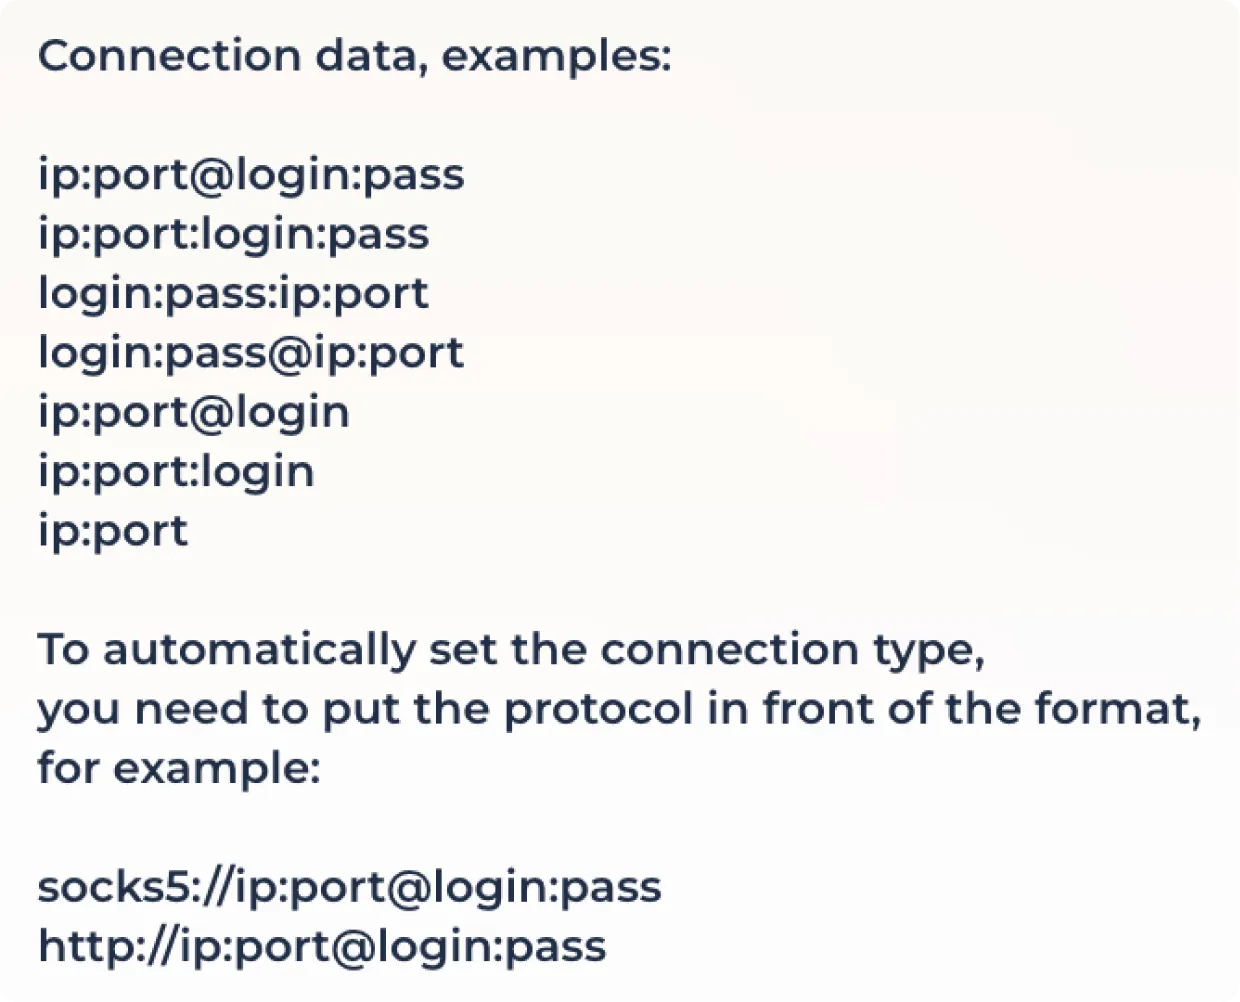
Enter the proxy data for the connection in the preset format in the field provided.

You can see the list of supported formats when hovering over the input field (with tooltips enabled)
Some proxy providers provide the option to use a proxy with outgoing IP address change via a link. If you need to use this feature, enter the IP change link in the field provided.

Click "Save" to finalize the proxy configuration or "Cancel" to reset the changes.

Using TOR
To use the onion network, select "TOR" in the connection list.
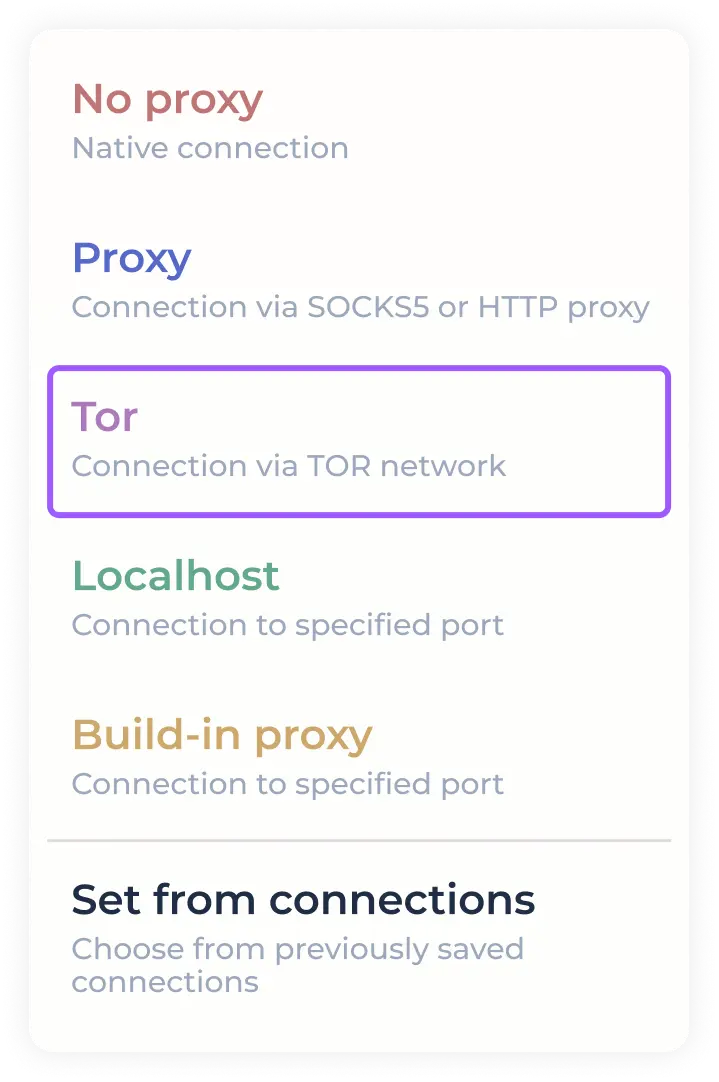
Click "Save" to finalize the proxy configuration or "Cancel" to reset the changes.
Using Localhost
To use proxying per port, select "Localhost" in the connection list.
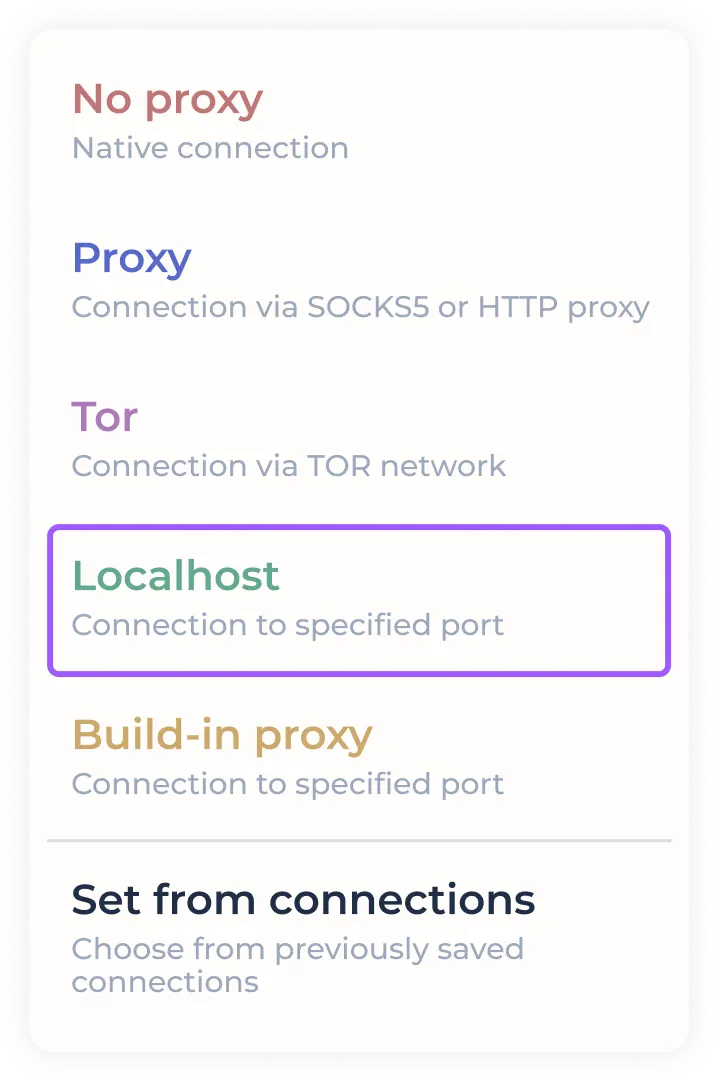
The program allows you to specify the port range, in which each identity to be created will use the next free port from the specified ones. In case you plan to use only one port, specify it in both of the designated fields.

Some proxy providers provide the option to use a proxy with outgoing IP address change via a link. If you need to use this feature, enter the IP change link in the field provided.
Click "Save" to finalize the proxy configuration or "Cancel" to reset the changes.
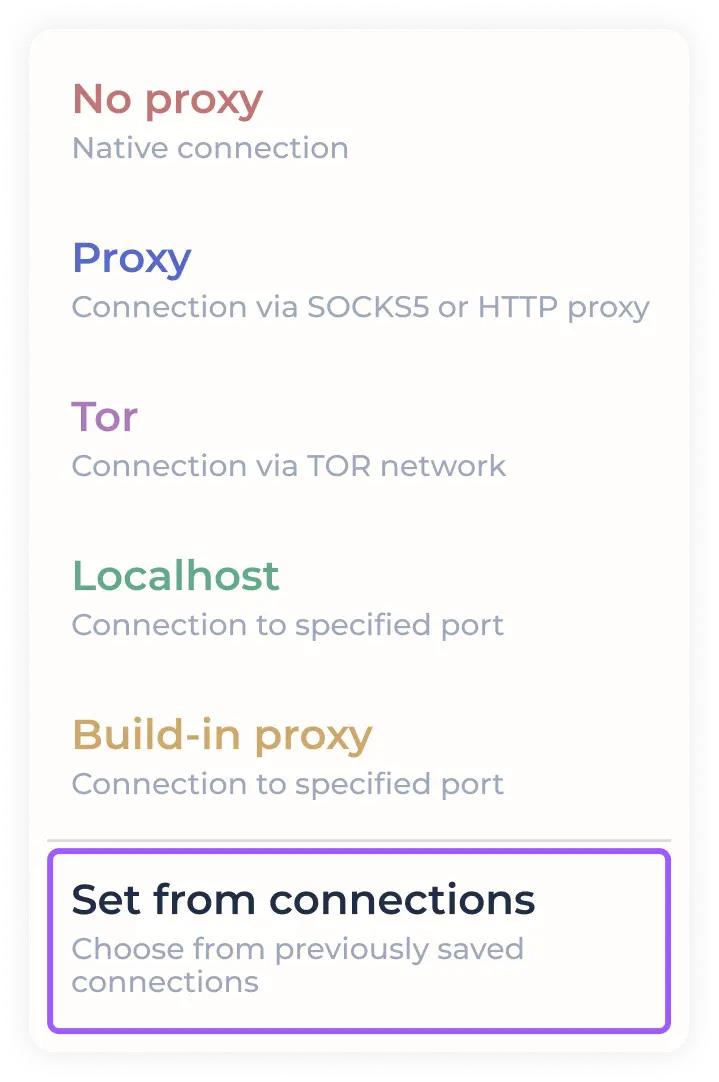
Establishing a connection from previously saved connections
To quickly set a previously used/downloaded SOCKS5/HTTP proxy, select "SET FROM CONNECTIONS" from the connection drop-down menu.
In the opened window with previously saved connections, select the required proxy by clicking on it.
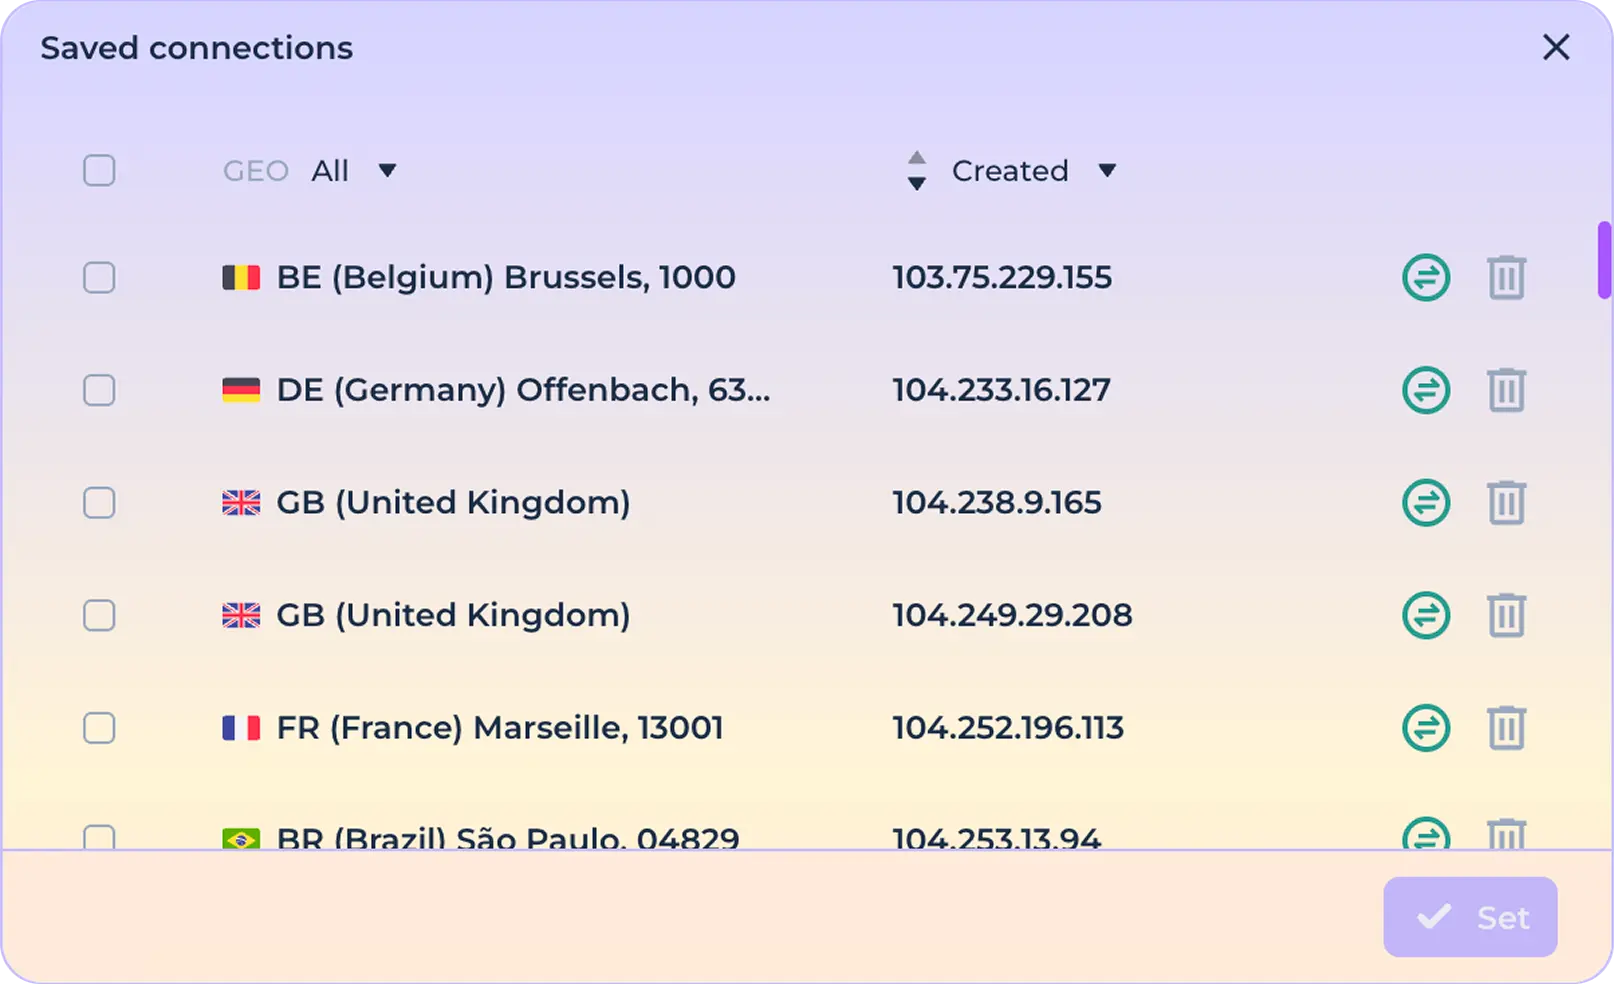
Click the "Set" button to finalize the configuration of using the selected connection.

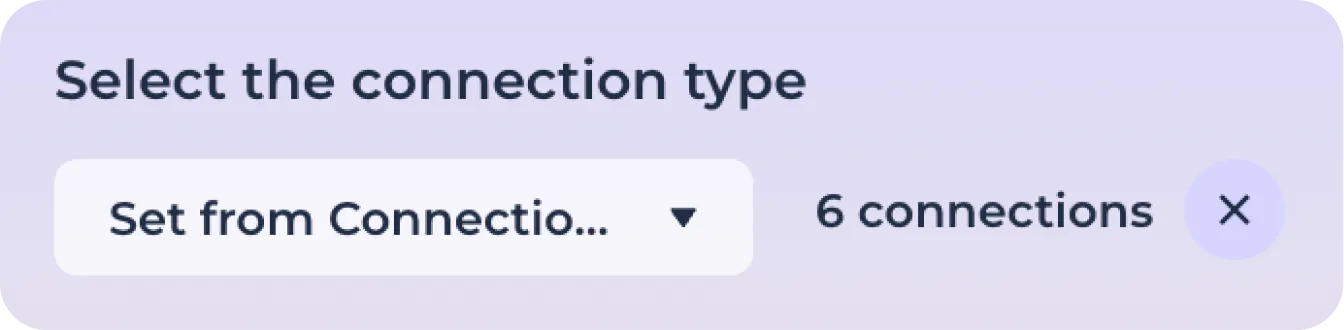
You can use the proxy list function, which allows you to select the required number of connections from previously saved connections. To generate a list of connections, click on the required connection with the Shift key pressed (Shift+Click).

Click the "Set" button to finalize the configuration of using the selected connections.
If everything is done correctly, you will see the number of connections added to the proxy list.
Click "Save" to finalize the connection settings or "Cancel" to reset the changes.
Customizing privacy settings
Click the Privacy tab to access the anonymity settings.
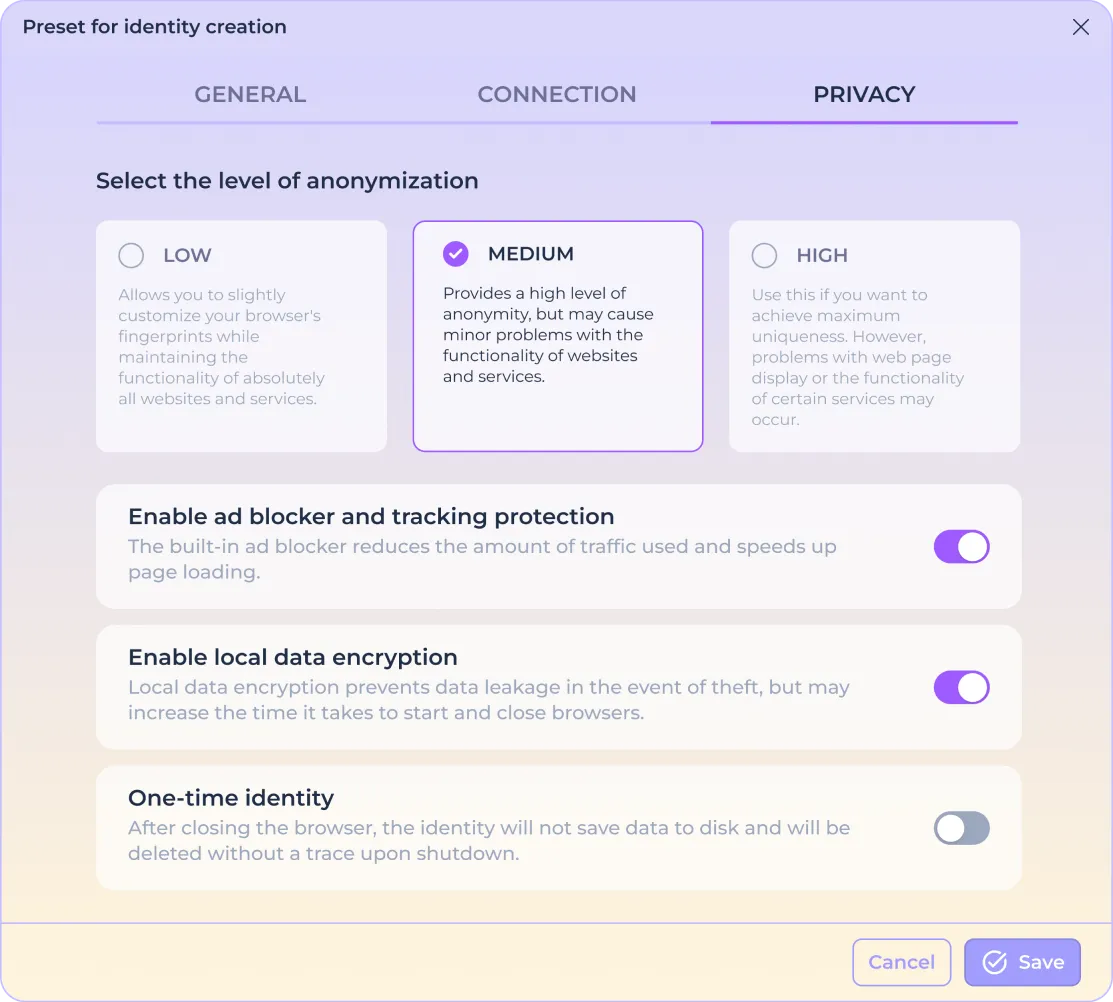
Anonymization
You can choose from three levels of anonymization, each of which uses specific masking technologies or a combination of them. The program modifies a large number of browser settings and reliably protects you from identification through such fingerprints as Screen, Canvas, WebGL, Fonts, GEO, ClientRects, Ubercookies and many others.
However, high anonymization can also lead to certain problems in the operation of familiar web services (especially those specializing in handling sensitive information, such as banks and financial services), so the program offers several scenarios for the operation of built-in protection.
LOW - soft anonymization based on real computer parameters. Allows you to slightly unique browser fingerprints, keeping absolutely all websites and services functional.
MEDIUM - moderate anonymization that uses partial changes to computer settings. Provides a high level of anonymization, but may cause minor performance problems with websites and services.
HIGH - maximum level of anonymization with all real computer parameters substituted. Use if you want to maximize uniqueness. However, there may be problems with the display of web pages or the performance of some services.
Ad blocker
Using the built-in ad blocking feature allows you to reduce tracking by ad networks, eliminate visual noise, and improve web page loading speed.
Use the corresponding switch to enable or disable the blocker in the created identities.

If you come across a website that requires you to disable the blocker and you want to continue working with it, stop the identity, then click the additional actions icon:

Then disable the blocker using the "Disable ad blocker" menu item and restart the identity:

To enable the blocker, use the "Enable ad blocker" menu item and restart the identity:

Local data encryption
You can use additional protection of your personal data by using the built-in browser data encryption feature. In this way, all data that can be used by intruders during physical theft to access your accounts or wallets will be additionally protected. This applies to cookies, storage, history and other data stored by the Chrome browser.
Use the corresponding switch to activate local encryption in the created identities.

All identities that use local encryption are marked with a special "lock" icon on the home screen.
Note that using local encryption may increase the startup and shutdown time of identities, especially as the amount of data increases, which is an inevitable result of encryption/decryption resource costs.
Disposable identity
The program provides an opportunity to get a complete absence of traces of your surfing with the use of automatic identity deletion. If you use this feature, the identity will be deleted without trace as soon as you stop surfing without the possibility of restoring it.
Use the corresponding switch to activate the one-time mode in the created identities.

All identities created in automatic deletion mode are marked with a special "Clock" icon on the home screen.

Click "Save" to finalize the privacy setting or "Cancel" to reset the changes.